@this-dot/vue-route-guard is a Vue library that wraps around the vue-router and extends it to provide helpful methods to handle page guards via token authorization and permissions.
Authentication
Over the years, web applications have always had authenticated (available to authorized users) and unauthenticated (available to anyone) pages.
The most common authentication method used in web applications is the token based authentication. This involves sending some user details to an API (backend), then receiving a token that is stored on the users computer and associated with the web application. When user tries to access an authenticated page before they are logged in, the user is redirected to page where they can get authenticated.
There are different things to consider while building a web authentication system, including the type of storage for persisting tokens, pages that need authentication, user roles, and redirect paths. This process can get more complex depending on the application. To help with this, we can use vue-route-guard.
It helps us with: ✅ Adding authentication guards to pages ✅ Supporting different storage options for storing token ✅ Storing and retrieving authentication data (user details and token) in a reactive state ✅ Exposes method for matching user permissions
Our example application
Let's set up an example application you can play with on Stackblitz here.
The example application flow:
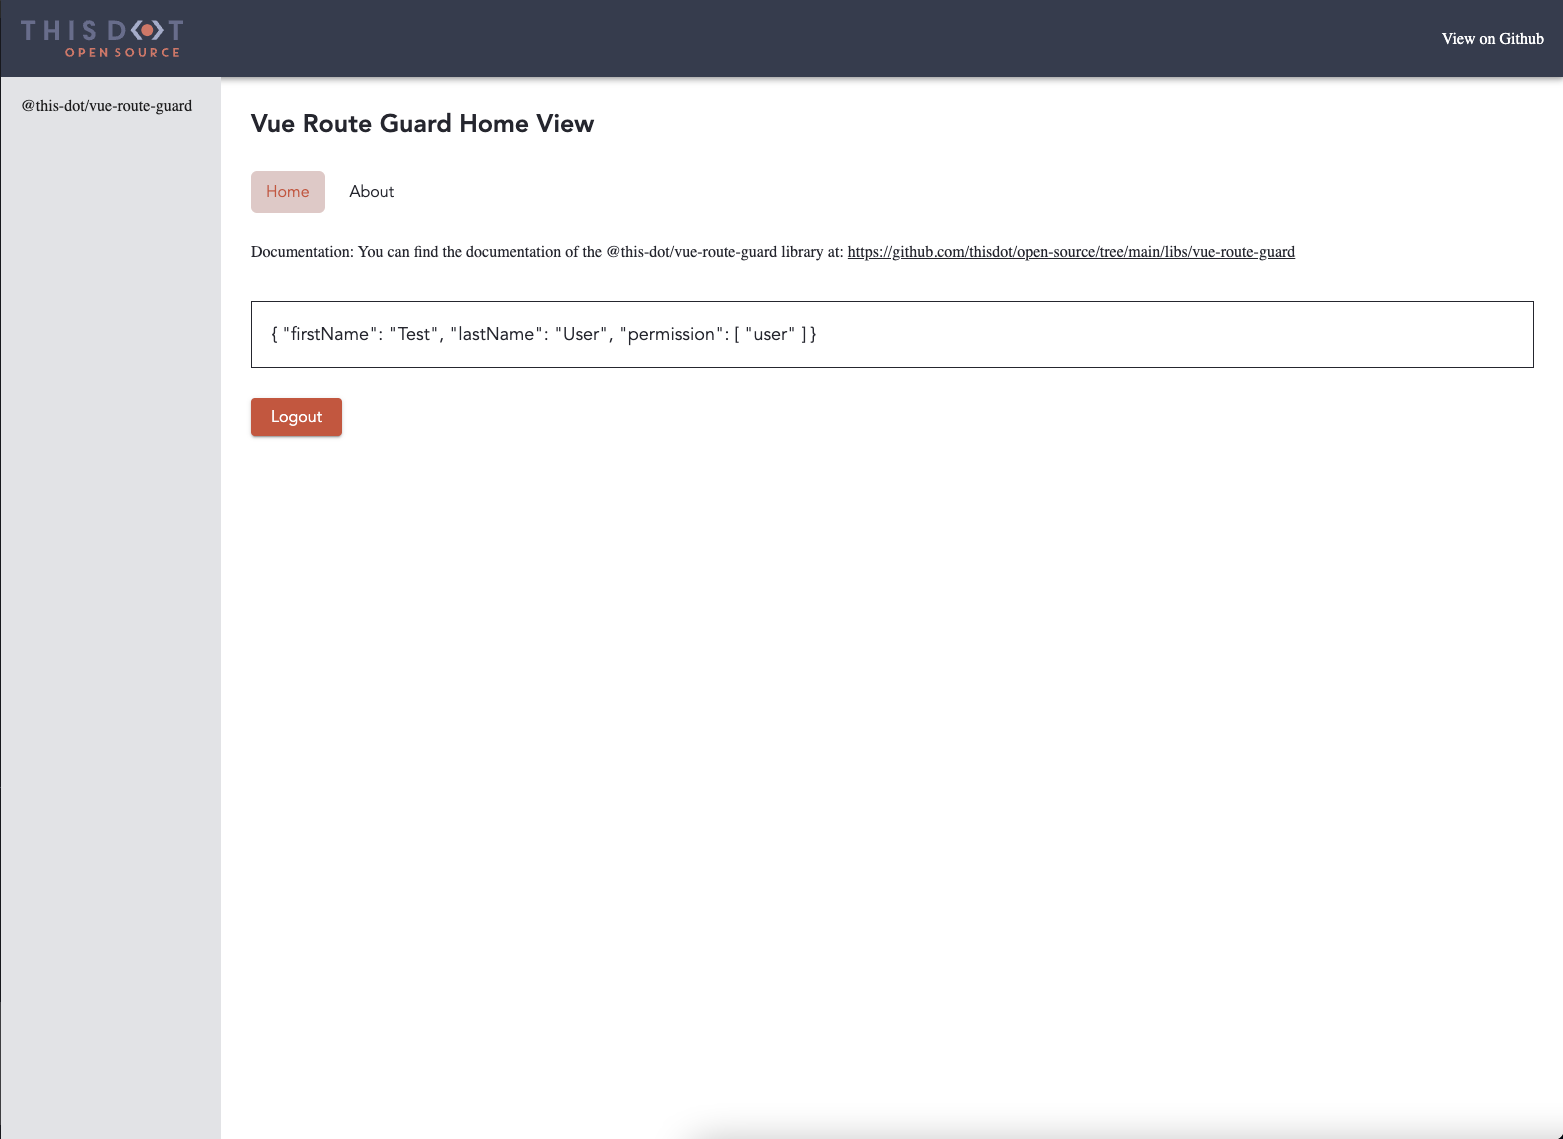
A user who tries to access the /route-guard or /route-guard/about pages without authentication is redirected to the login page. After login, a user without the 'admin' role cannot access the /route-guard/about page and is redirected to /route-guard/no-permission if they try to navigate to it.

How to use @this-dot/vue-route-guard
Let’s dive in on how to use @this-dot/vue-route-guard
First, we install the package with:
npm install @this-dot/vue-route-guard
or
yarn add @this-dot/vue-route-guard
Let’s set up the package as a plugin in our application:
// plugins/vue-route-guard.ts

import { setupGuard } from '@this-dot/vue-route-guard';

import * as vue from 'vue';
import { Router, StorageType } from 'vue-router';

export default (app: vue.App, router: Router) => {
  let config: GuardConfig = {
      router: router,
      token: {
        name: 'VUEROUTEGUARD-TOKEN'
        storage: StorageType.sessionStorage
      },
      redirect: {
        noAuthentication: '/login',
        clearAuthentication: '/login',
        noPermission: '/no-permission',
      },
      options: {
        fetchAuthentication: () => {
          return new Promise(function(resolve, _) {
            return resolve({
              firstName: 'Test',
              lastName: 'User',
              permission: ['user'],
            });
          });
        },
      },
  };

  app.use(setupGuard(config));
};
Next, we need to register the plugin in our main file.
// main.ts

import { createApp } from 'vue';
import App from './App.vue';
import router from './router';
import routeGuard from './plugins/vue-route-guard';

createApp(App)
  .use(router)
  .use((app) => routeGuard(app, router))
  .mount('#app');
Now that we have setup the vue-route-guard package in our project, we need to update the router setup by adding requiresAuth and access to the meta object of each route in the web application.
requiresAuth to pages that need authentication, it takes a boolean. for eample:
requiresAuth: false
access to pages that also require a role permission along with the authentication. It takes an array of strings, for example:
access: [ ‘user’, ‘admin’ ]).
For the set up we have in the example app, we added authentication to the ‘/route-guard’ path, and also added admin permission access to the '/route-guard/about' path.
// router.ts

import { createRouter } from 'vue-router';

const router = createRouter({
  routes: [
    {
      path: '/',
      name: 'Home',
      component: () => import('./views/HomeView.vue'),
      meta: { requiresAuth: false },
    },
    {
      path: '/route-guard',
      name: 'RouteGuard',
      component: () => import('./views/RouteGuard/BaseView.vue'),
      meta: { requiresAuth: false },
      children: [
        {
          path: '/route-guard',
          name: 'RouteGuardHome',
          component: () => import('./views/RouteGuard/HomeView.vue'),
          meta: { title: requiresAuth: true },
        },
        {
          path: '/route-guard/login',
          name: 'RouteGuardLogin',
          component: () => import('./views/RouteGuard/LoginView.vue'),
          meta: { requiresAuth: false },
        },
        {
          path: '/route-guard/about',
          name: 'RouteGuardAbout',
          component: () => import('./views/RouteGuard/AboutView.vue'),
          meta: {
            requiresAuth: true,
            access: [ 'admin' ],
          },
        },
        {
          path: '/route-guard/no-permission',
          name: 'RouteGuardNoPermission',
          component: () => import('./views/RouteGuard/NoPermissionView.vue'),
          meta: { requiresAuth: false },
        },
      ],
    },
  ],
});

export default router;
Using session storage to persist our token, the routes are authenticated and users can’t access certain pages without the right permissions with the setup above.
Lets take an example of how to setup using cookie storage.
{...
     token: {
        name: 'VUEROUTEGUARD-TOKEN',
        storage: StorageType.cookieStorage,
        attributes: {
          path: '/',
          expires: 2, // cookie to expire in 2 days from now, it can also take a valid date string
        },
      }
}
Setting user authentication data
We can set the user authentication data by importing useGuardand calling the method setToken with the token.
Example:
<template>
  <div class="route-guard-wrap">
    <div class="route-guard-wrap__title">
      <button @click="saveToken">
        Login
      </button>
    </div>
  </div>
</template>

<script setup lang="ts">
import { useGuard } from '@this-dot/vue-route-guard';
import { useRouter } from 'vue-router';
const router = useRouter();

const auth = useGuard();

const saveToken = () => {
  auth.setToken({ token: 'thisisatokenstring' }).then(() => {
    router.replace('/route-guard');
    console.log('Login successful');
  });
};
</script>
Check if user has access
hasAuthenticationAccess can be accessed from useGuard, and called to check if user has a specific permission
Example:
<template>
  <header>
    <div class="wrapper">
      <nav>
        <RouterLink to="/">Home</RouterLink>
        <RouterLink v-if="auth.hasAuthenticationAccess(['admin'])" to="/about">About</RouterLink>
      </nav>
    </div>
  </header>

  <RouterView />
</template>

<script setup lang="ts">
  import { useGuard } from '@this-dot/vue-route-guard';

  const auth = useGuard();
</script>
Access authentication data
We can access authentication data by importing useGuard getting the store state.
Example:
<template>
  <div>{{ auth.$store.state.authentication }}</div>
</template>
<script setup lang="ts">
  import { useGuard } from '@this-dot/vue-route-guard';

  const auth = useGuard();
</script>
Clear Authentication
We can clear authentication data by calling clearAuthentication from useGuard.
Example:
<script setup lang="ts">
  import { useGuard } from '@this-dot/vue-route-guard';

  const auth = useGuard();

  const logout = () => {
    auth.clearAuthentication().then(() => {
      console.log('cleared authentication');
    });
  };
</script>
Refresh Authentication
Refresh authentication calls fetch authentication and updates the state with the new authentication details. We can refresh authentication data by calling refreshAuthentication from useGuard.
Example:
<template>
  <div>
    <span>{{ auth.$store.state.authentication }}</span>
    <button @click="updateAuthentiationInformation">Update</button>
  </div>
</template>
<script setup lang="ts">
  import { useGuard } from '@this-dot/vue-route-guard';

  const auth = useGuard();

  const updateAuthentiationInformation = () => {
    auth.refreshAuthentication();
  };
</script>
Feel free to reachout if you have questions, feedback or want to contribute. You can reach out to us at opensource@thisdot.co. If you would like to check out the source code, feel free to visit our repository.
