Have you ever wondered how to add those annoying (but useful) notifications to your progressive web app?
Well in this tutorial, I'm going to show you how!
What are we building?
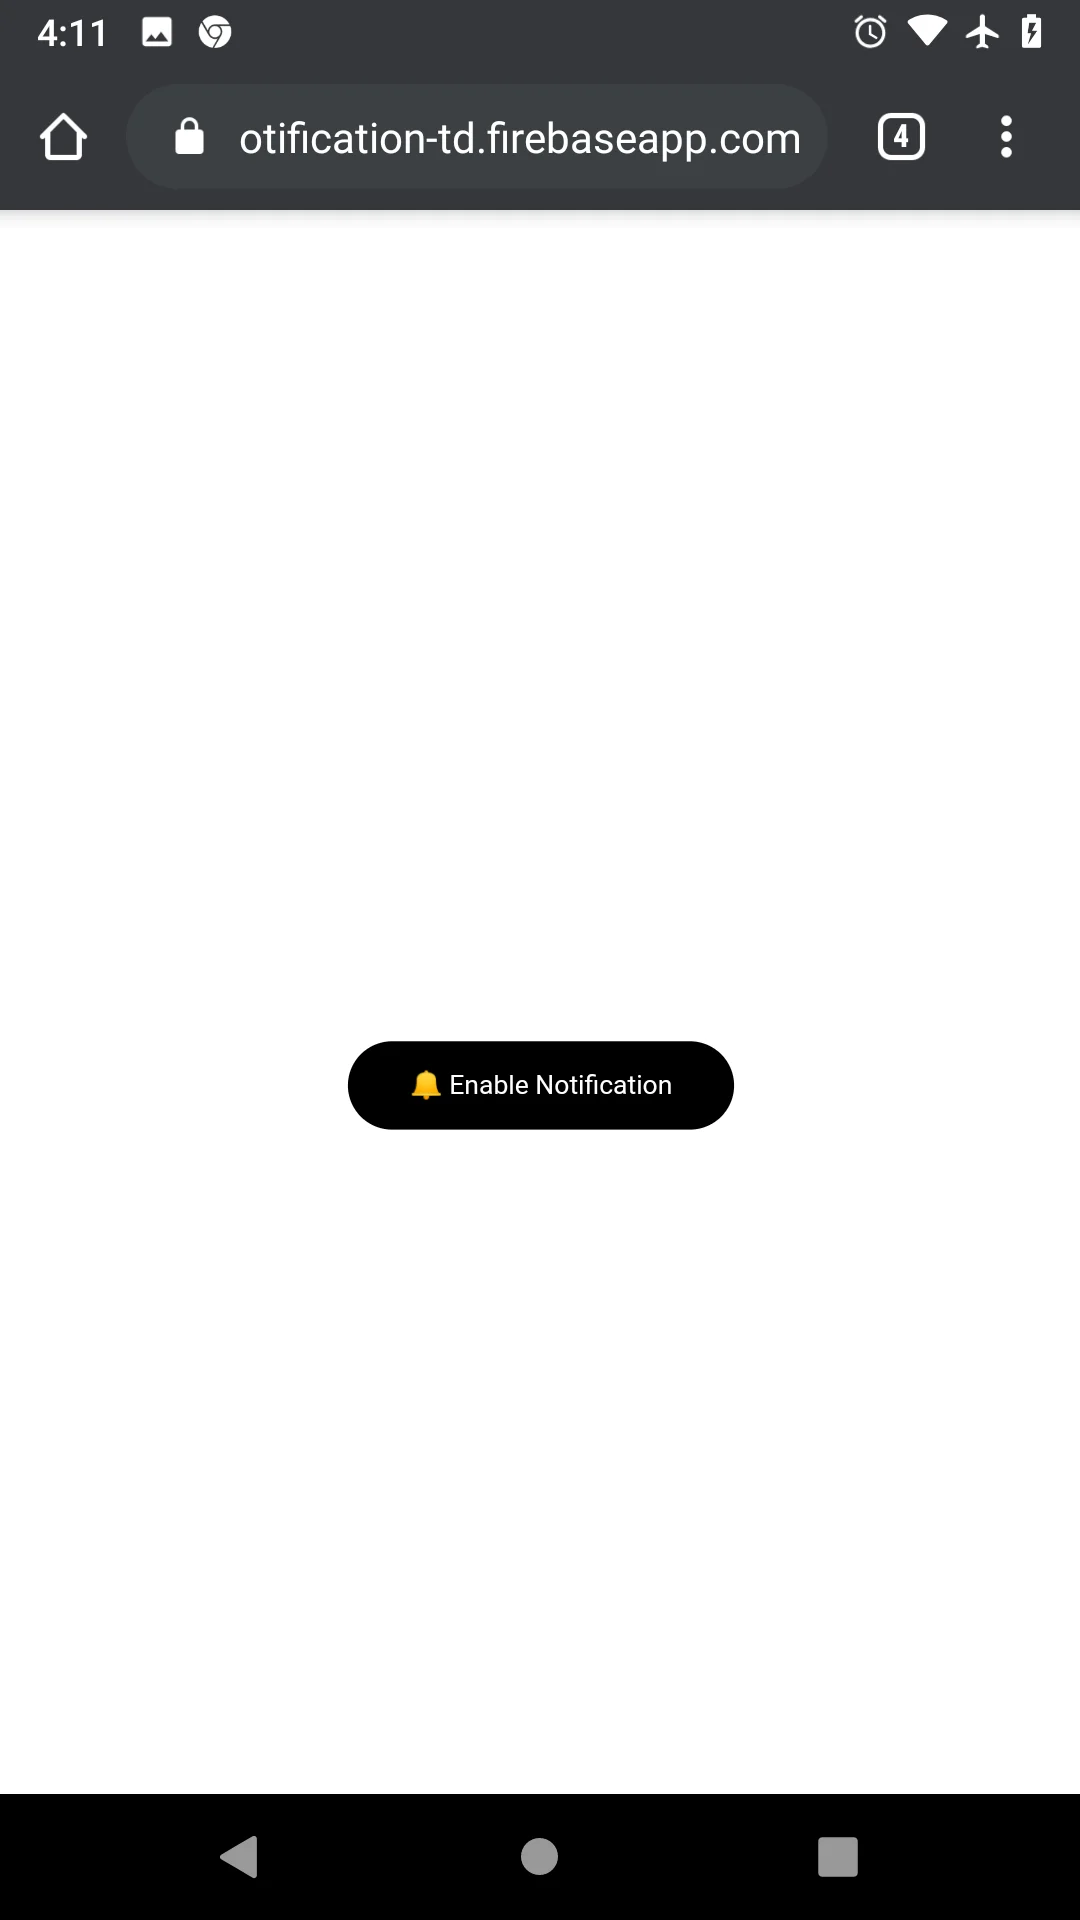
Live Demo
https://pwa-notification-td.firebaseapp.com/
Before We Start
We will make use of the Notification API
Notification API: The Notification interface of the Notifications API is used to configure and display desktop notifications to the user. These notifications' appearances, and specific functionalities, vary across platforms, but generally provide a way to asynchronously provide information to the user.
__*Note: *__The notification API is not the same as the Push API.
Time To Get Your Hands Dirty
-
Clone this repo: https://github.com/devpato/pwa-notifications
-
You will see 3 folders. The ones that matter are the START and the FINAL folder. In the FINAL folder, you can see the final code, but for the purpose of this tutorial, and for you to learn, just focus on the START folder.
-
Navigate to the main.js file inside of the scripts folder
-
add the following code
const notificationButton = document.getElementById('enableNotifications');
let swRegistration = null;
The notificationButton is the button that will trigger the notification in our app. If you go to the index.html, you will see the button there that I've already created for you.
The swRegistration is just a global variable that will store our service worker.
- Now let's create a function called initializeApp. This function will handle everything that needs to be triggered when the app first loads.
//First, we check if having service workers and notifications are //supported.
function initializeApp() {
  if ('serviceWorker' in navigator && 'PushManager' in window) {
    console.log('Service Worker and Push is supported');

    //Register the service worker
    navigator.serviceWorker
      .register('./sw.js')
      .then(swReg => {
        console.log('Service Worker is registered', swReg);
        // We are storing the service worker, globally
        swRegistration = swReg;
      })
      .catch(error => {
        console.error('Service Worker Error', error);
      });
  } else {
    console.warn('Push messaging is not supported');
    notificationButton.textContent = 'Push Not Supported';
  }
}
To learn more about the PushManger, visit : https://developer.mozilla.org/en-US/docs/Web/API/PushManager
-
When the app first loads, we need to call the initializeApp(). function. To accomplish this - add the call before the declartion of the function itself.
-
Now we need to create a new function called initializeUi. This function will look as follows:
function initializeUi() {
  notificationButton.addEventListener('click', () => {
    //Do something here
  });
}
The only purpose of this function is to attach a click event to the notificationButton. So when the user clicks on the button, something will happen.
- Now inside of the initializeApp() (function we previously created), we invoke the initializeUi();, right after the swRegistration = swReg; expression:
function initializeApp() {
 ...
    navigator.serviceWorker
      .register('./sw.js')
      .then(swReg => {
        ....
        // We are storing the service worker, globally
        swRegistration = swReg;
        initializeUi();
      })
 ...
}
By doing this, we will initilize the UI once the registration of the service worker has been successful.
- Time to create a new function called displayNotification. The function will look like this:
function displayNotification() {
  //Ask user if we show notifications
  if (window.Notification && Notification.permission === 'granted') {
    //notification();
    // We will crete this function in a further step.
  }
  // If the user hasn't told whether he wants to be notified or not
  // Note: because of Chrome, we cannot be sure the permission property
  // is set, therefore it's unsafe to check for the "default" value.
  else if (window.Notification && Notification.permission !== 'denied') {
    Notification.requestPermission(status => {
      if (status === 'granted') {
        //notification();
      } else {
        alert('You denied or dismissed permissions to notifications.');
      }
    });
  } else {
    // If the user refuses to get notified
    alert(
      'You denied permissions to notifications. Please go to your browser or phone setting to allow notifications.'
    );
  }
}
- Go back to the initializeUi() inside of the click callback, where it says "Do something here". Replace that line with:
displayNotification();
Your code will look like this:
function initializeUi() {
  notificationButton.addEventListener('click', () => {
    displayNotification();
  });
}
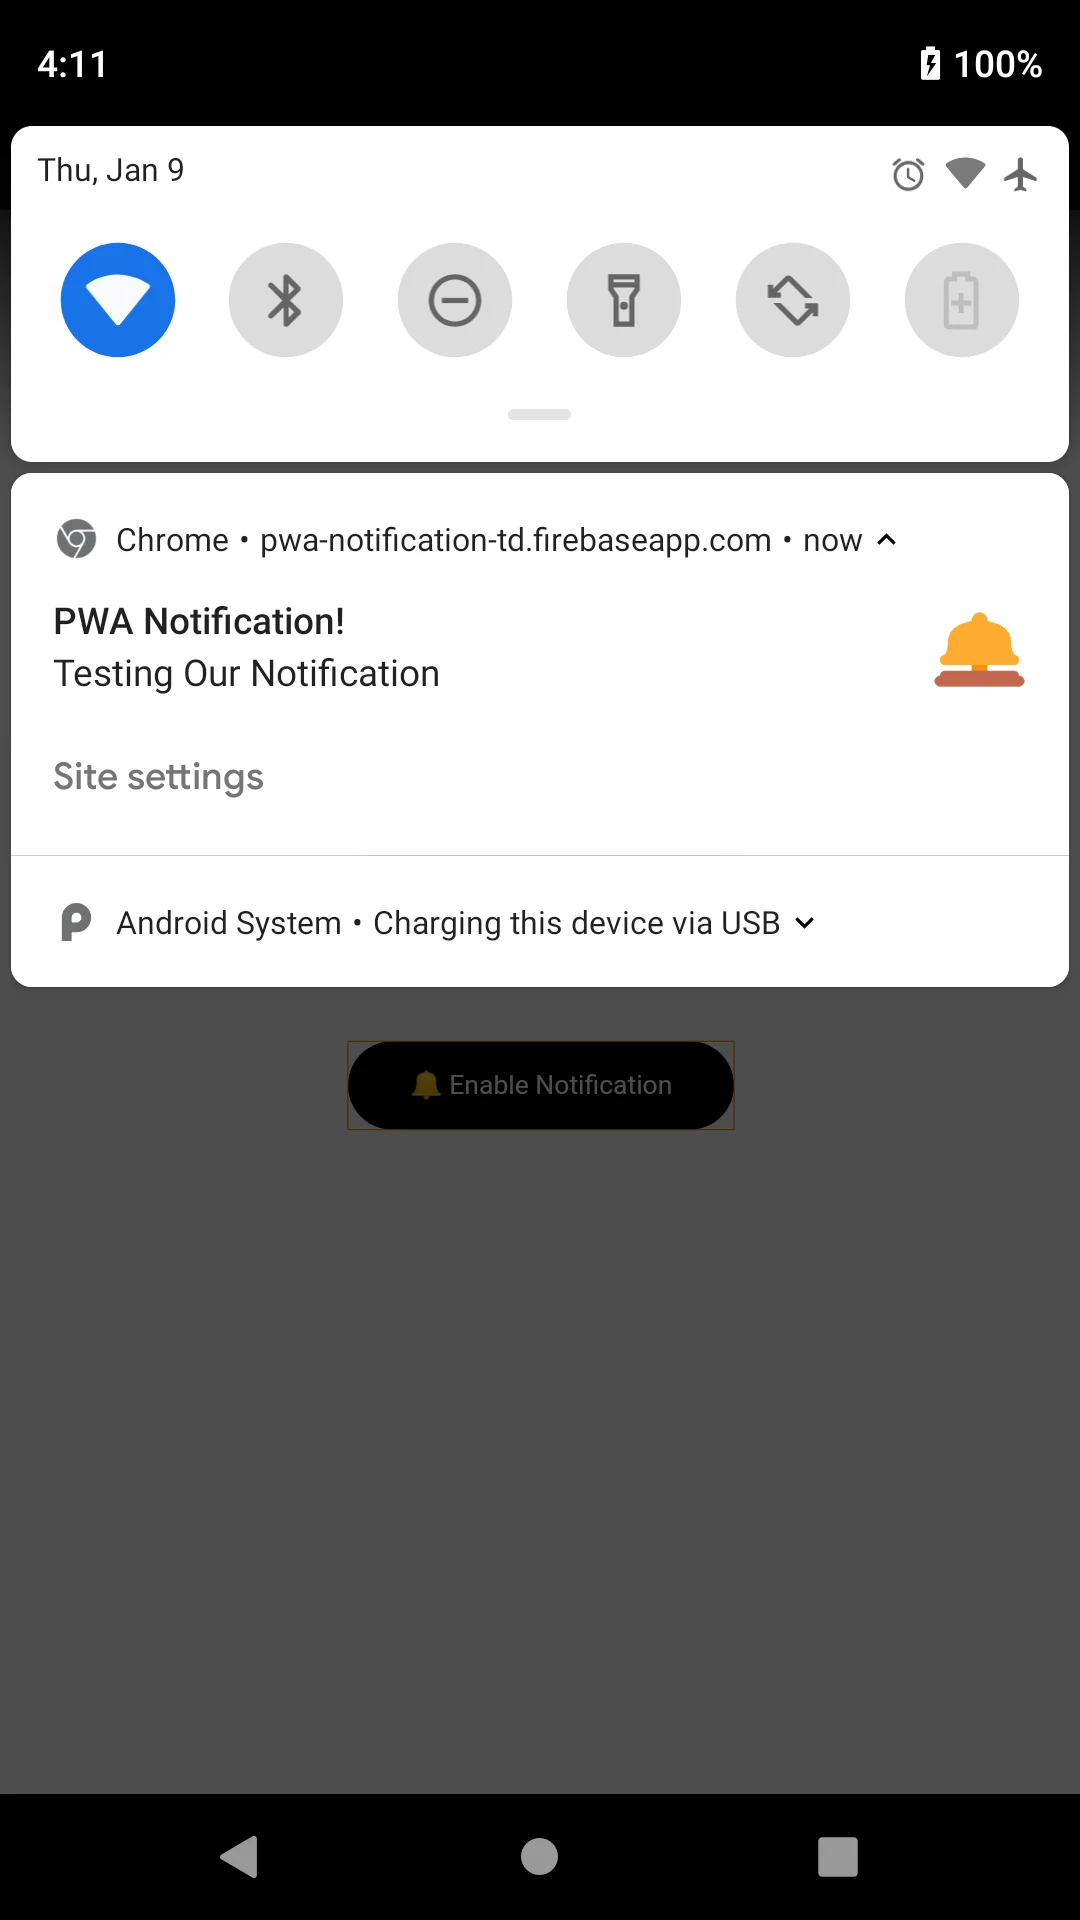
- Finally, we are going to create a notification function that will contain the information we want to display in our notification.
function notification() {
  const options = {
    body: 'Testing Our Notification',
    icon: './bell.png'
  };
  swRegistration.showNotification('PWA Notification!', options);
}
-
Inside of your displayNotification() function, you will see we are calling the notification(), but it's commented out. Simply uncomment it , so the code can be triggered.
-
The final code will look like this: https://github.com/devpato/pwa-notifications/blob/master/final/scripts/main.js
-
Test the notification in your browser. If you want to test it on a real device, you need to deploy it, and make sure that the deployed app gets served using https. You can you use firebase hosting for this.
As you might have noticed, we registered a service worker, but we didn't add any code to it becaue it wasn't necessary. In the the next tutorial, we will actually be doing more with the service worker. In that tutorial, I will show you how to send push notifications from the server using Firebase Cloud Messaging. So, wait a bit and we'll explore much more about Service Worker features ;)