Have you tried to update the document's title of your application? Maybe you're thinking that applying interpolation should be enough:
<head>
  <title>{{myCustomTitleVariable}}</title>
</head>

<body>
  <root-app></root-app>
</body>
That solution is not going to work since the <title> element is outside of the scope of the Angular application. In fact, the root component of your app is within <body> tag, and the title is part of the <header> element.
Luckily, Angular provides the Title service with the methods to read the current title of the application, and a setTitle(title) to update that value.
However, what happens if you need to update the title on routing changes? Also, you may consider updating it on certain components for Analytics purposes.
In this blog post, I'll explain step-by-step how to create a custom Title service to have full control over the title of the current HTML document for your application.
Project Setup
Prerequisites
You'll need to have installed the following tools in your local environment:
- Node.js. Preferably the latest LTS version.
- A package manager. You can use either NPM or Yarn. This tutorial will use NPM.
Creating the Angular Project
Let's assume we'll need to build an application with the following routes as requirements:
  /home
    |- Renders a home component
  /products
    |- Renders a list of products
  /products/<id>
    |- Renders a product detail based on its Identifier

  The app redirects to /home path by default
Now, let's create the project from scratch using the Angular CLI tool.
ng new angular-update-title --routing --prefix corp --style css --skip-tests
This command will initialize a base project using some configuration options:
--routing. It will create a routing module.--prefix corp. It defines a prefix to be applied to the selectors for created components(corpin this case). The default value isapp.--style css. The file extension for the styling files.--skip-tests. it avoids the generations of the.spec.tsfiles, which are used for testing
Creating the Modules and Components
Once we got the initial structure of the app, we'll continue running the following commands to create a separate module for /home and /products, which are the main paths of the project:
ng generate module home --routing
ng generate component home/home

ng generate module products --routing
ng generate component products/products
ng generate component products/product-detail
- The
--routingflag can be using also along withng generate moduleto create a routing configuration file for that module.
Creating the Title Service
Similar to the previous section, we will create a shared module to hold the Title service. Both can be generated with the following commands:
ng generate module shared --module app
ng generate service shared/services/title
- The
--module appflag is used to "link" the brand new module to the pre-existingapp.module.tsfile.
The Routing Configuration
Open the app-routing.module.ts file, and create the initial routes.
// app-routing.module.ts

const routes: Routes = [
  {
    path: '',
    pathMatch: 'full',
    redirectTo: 'home'
  },
  {
    path: 'home',
    component: HomeComponent,
    data: {
      pageTitle: 'Home'
    }
  },
  {
    path: 'products',
    loadChildren: () => import('./products/products.module').then(m => m.ProductsModule)
  }
];
- By default, the application will redirect to the
homepath. - When the router loads the
homepath, aHomeComponentwill be rendered. - The
productspath will be loaded using the lazy loading feature.
Pay attention to the data provided to the home path. It contains the configured title through pageTitle string.
Next, open the products-routing.module.ts file to enable an additional configuration to load the Products and the Product Detail page.
// products-routing.module.ts
const routes: Routes = [
  {
    path: '',
    component: ProductsComponent,
    children: [
      {
        path: ':id',
        component: ProductDetailComponent,
      }
    ],
    data: {
      pageTitle: 'Products'
    }
  },
];
- The router will render the
ProductsComponentby default when the path matches to/products. This route also defines custom data to be rendered as titles later. - When the path also adds an Id on
/products/:id, the router will render theProductDetailComponent.
The Title Service Implementation
It's time to implement the custom Title Service for our application.
// title.service.ts

import { Injectable } from '@angular/core';
import { Title } from '@angular/platform-browser';
import { ActivatedRoute, NavigationEnd, Router } from '@angular/router';
import { BehaviorSubject, merge, Observable } from 'rxjs';
import { filter, map, tap } from 'rxjs/operators';

const DEFAULT_TITLE = 'Corp';

@Injectable({ providedIn: 'root' })
export class TitleService {
  title$ = new BehaviorSubject<string>(DEFAULT_TITLE);

  private titleRoute$: Observable<string | undefined> =
    this.router.events.pipe(
      filter((event) => event instanceof NavigationEnd),
      map(() => this.getPageTitle(this.activatedRoute.firstChild))
    );

  private titleState$ = merge(this.title$, this.titleRoute$).pipe(
    filter((title) => title !== undefined),
    tap((title) => {
      this.titleService.setTitle(`${DEFAULT_TITLE} - ${title}`);
    })
  );

  constructor(
    private router: Router,
    private activatedRoute: ActivatedRoute,
    private titleService: Title
  ) {
    this.titleState$.subscribe();
  }

  private getPageTitle(
    activatedRoute: ActivatedRoute | null
  ): string | undefined {
    while (activatedRoute) {
      if (activatedRoute.firstChild) {
        activatedRoute = activatedRoute.firstChild;
      } else if (
        activatedRoute.snapshot.data &&
        activatedRoute.snapshot.data['pageTitle']
      ) {
        return activatedRoute.snapshot.data['pageTitle'] as string;
      } else {
        return undefined;
      }
    }
    return undefined;
  }
}
The above service implementation could be understood in just a few steps.
- First, we'll need to make sure to inject the
Router,ActivatedRouteandTitleservices in the constructor. - The
title$attribute contains the initial value for the title("Corp"), which will be emitted through a BehaviorSubject. - The
titleRoute$is an Observable ready to emit anypageTitlevalue defined in the current route. It may use the parent's pageTitle otherwise. - The
titleState$is an Observable ready to listen to eithertitle$ortitleRoute$values. In case incoming value is defined, it will call the Angular Title service to perform the update. - The
getPageTitlemethod will be in charge of obtaining thepageTitleof the current route if it is defined or the title of the parent otherwise.
Injecting the Title Service
One easy way to apply the custom Title Service in the whole application is by updating the app.module.ts file and injecting it into the constructor.
// app.module.ts

export class AppModule {
  constructor(public titleService: TitleService) {}
}
In that way, once the default component gets rendered, the title will be displayed as Corp - Home.
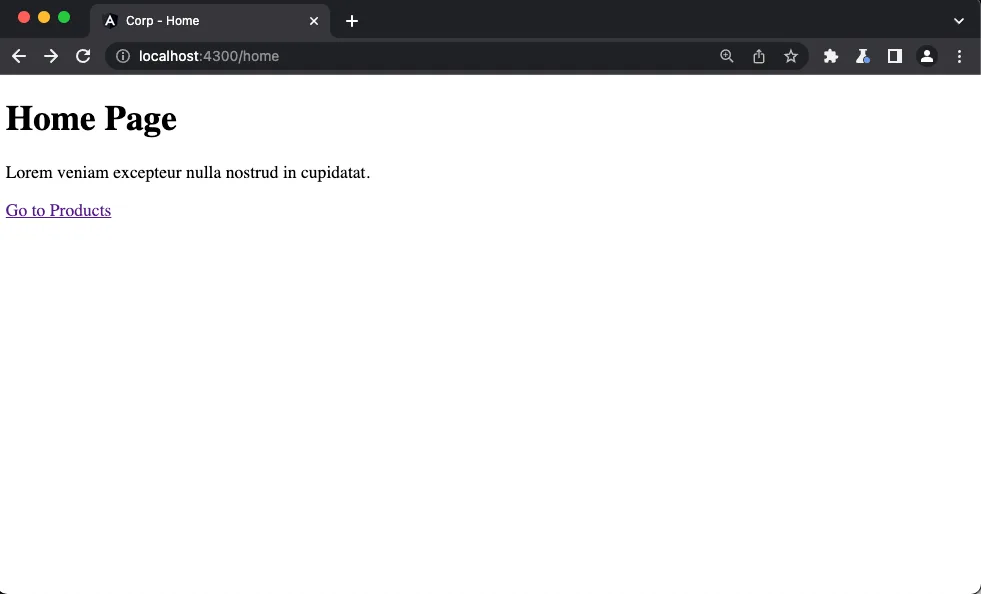
If you click on Go to Products link, then a redirection will be performed and the Title service will be invoked again to display Corp - Products at this time.
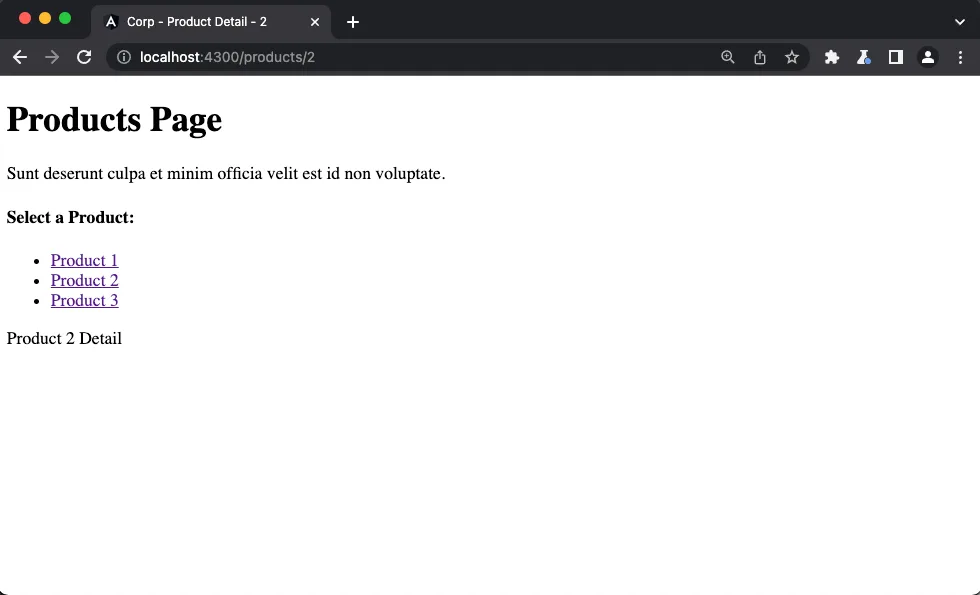
However, we may need to render a different title according to the product detail. In this case, we'll show Corp - Product Detail - :id where the Id matches with the current route parameter.
// product-detail.component.ts

import { Component, OnDestroy, OnInit } from '@angular/core';
import { ActivatedRoute } from '@angular/router';
import { map, Subscription, tap } from 'rxjs';
import { TitleService } from 'src/app/shared/services/title.service';

@Component({
  selector: 'corp-product-detail',
  templateUrl: './product-detail.component.html',
  styleUrls: ['./product-detail.component.css'],
})
export class ProductDetailComponent implements OnInit, OnDestroy {
  protected subscription = new Subscription();

  productId$ = this.route.params.pipe(map((params) => params['id']));

  constructor(
    private route: ActivatedRoute,
    private titleService: TitleService
  ) {}

  ngOnInit(): void {
    const productIdSubscription = this.productId$
      .pipe(
        tap((id) => this.titleService.title$.next(`Product Detail - ${id}`))
      )
      .subscribe();

    this.subscription.add(productIdSubscription);
  }

  ngOnDestroy(): void {
    this.subscription.unsubscribe();
  }
}
Let's explain the implementation of this component:
- The constructor injects the
ActivatedRouteand the customTitleService. - The
productId$is the Observable which is going to emit theIdparameter every time it changes in the URL. - Once the component gets initialized, we'll need to subscribe to the
productId$Observable and then emit a new value for the title after creating a new string using theid. That's possible through thetitleService.title$.next()method. - When the component gets destroyed, we'll need to unsubscribe from the
productIdSubscription.
We're ready to go! Every time you select a product, the ProductDetail component will be rendered, and the title will be updated accordingly.
Live Demo and Source Code
Want to play around with the final application? Just open the following link in your browser: https://luixaviles.github.io/angular-update-title.
Find the complete angular project in this GitHub repository: angular-update-title-service. Do not forget to give it a star ⭐️, and play around with the code.
Feel free to reach out on Twitter if you have any questions. Follow me on GitHub to see more about my work.