Introduction
We are going to be learning how to integrate Cypress with Cucumber in a React application. Cypress is the premier end-to-end testing platform to allow you to test user interactions, and end-to-end flows in your application.
What is Cucumber?

Cucumber creates a layer of abstraction that allows for better communication between business and technical folks, and facilitates the use of Behavior Driven Development (BDD). One of the additional benefits is that it essentially creates documentation, which stays up to date and is easy to share. Cucumber is built to support Behavior Drive Development (BDD). If you are unfamiliar with Behavior Driven Development, you can read Cucumber’s guide on it here: https://cucumber.io/docs/bdd/
Learn more about Cucumber in general here: https://cucumber.io/docs/guides/overview/
What is Gherkin?
In the simplest terms, Gherkin is a set of grammar rules that structure plain text for Cucumber to understand and process.
Learn more here: https://cucumber.io/docs/gherkin/
Setup
Steps
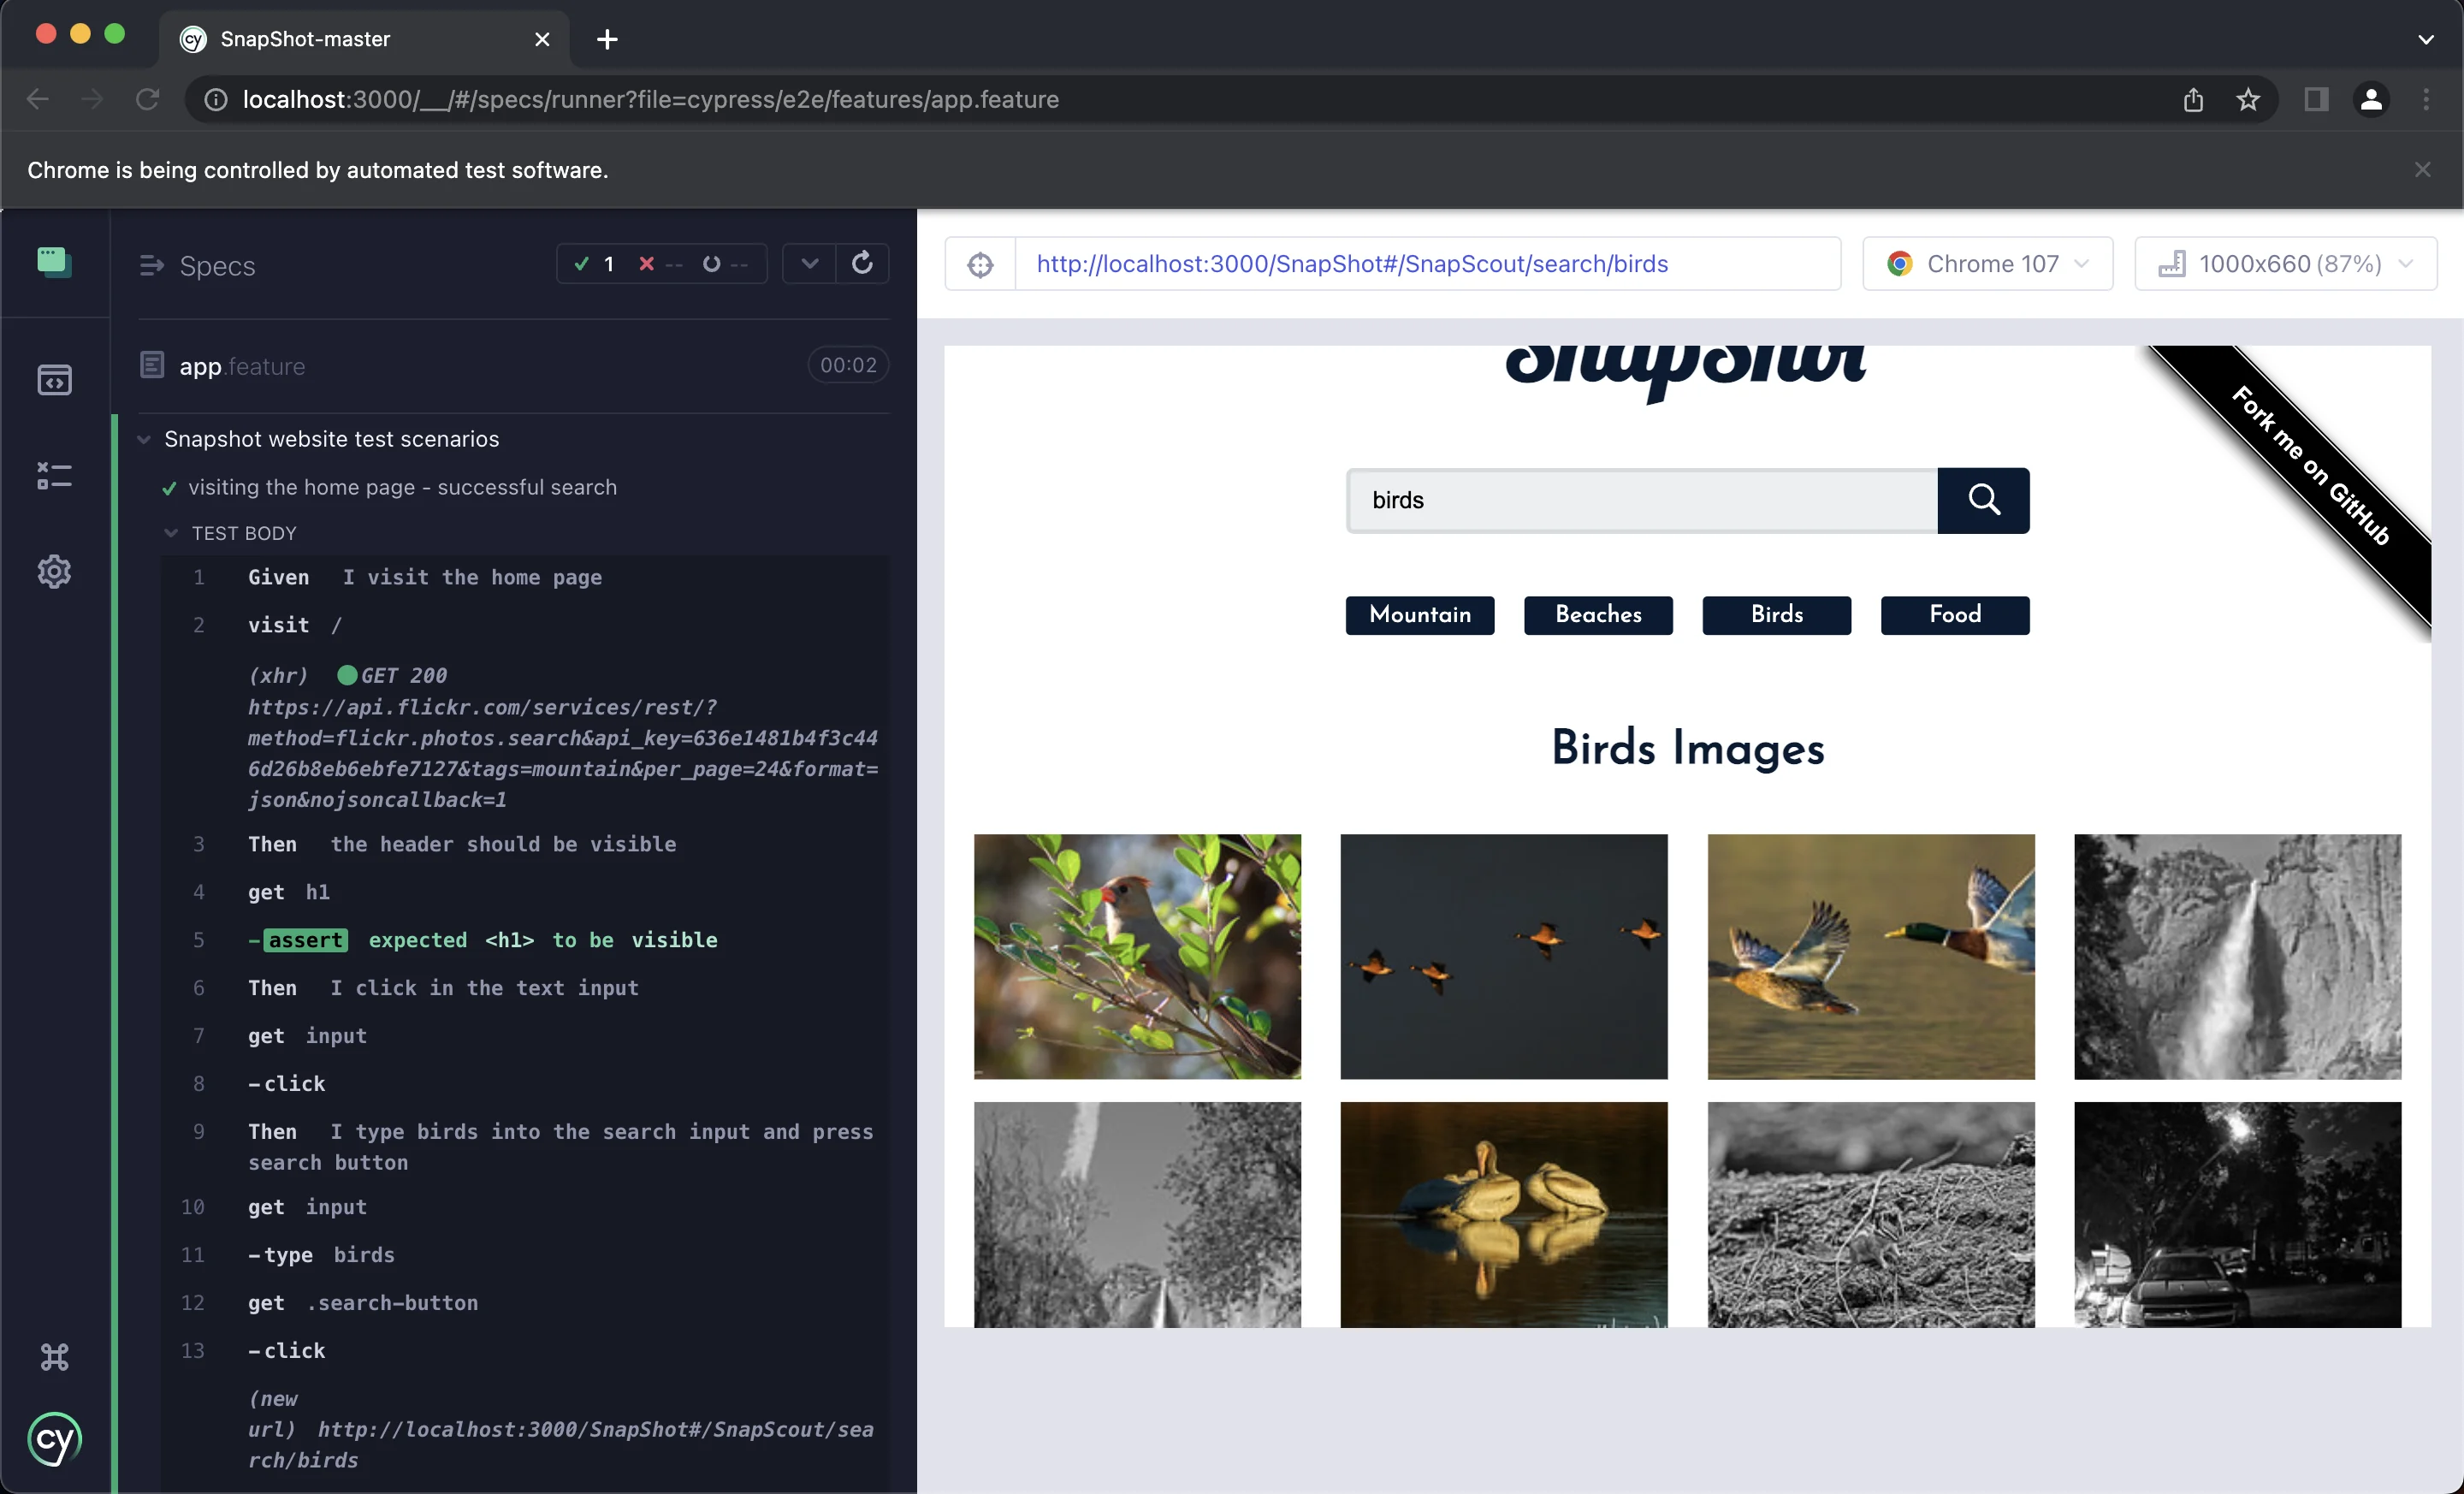
- Clone a React app to test against. Here is a link to a photo viewer and search app which we will be using:
https://github.com/Yog9/SnapShot
You will need to clone the app and get it running before we can move on to next steps. Below is a screenshot of the working app:

- Add Cypress as a dev dependency within your application. Install Cypress npm i cypress --save-dev. Once you have completed this step, you should see "cypress": "^10.11.0", or something similar in the devDependencies section of your package.json file.
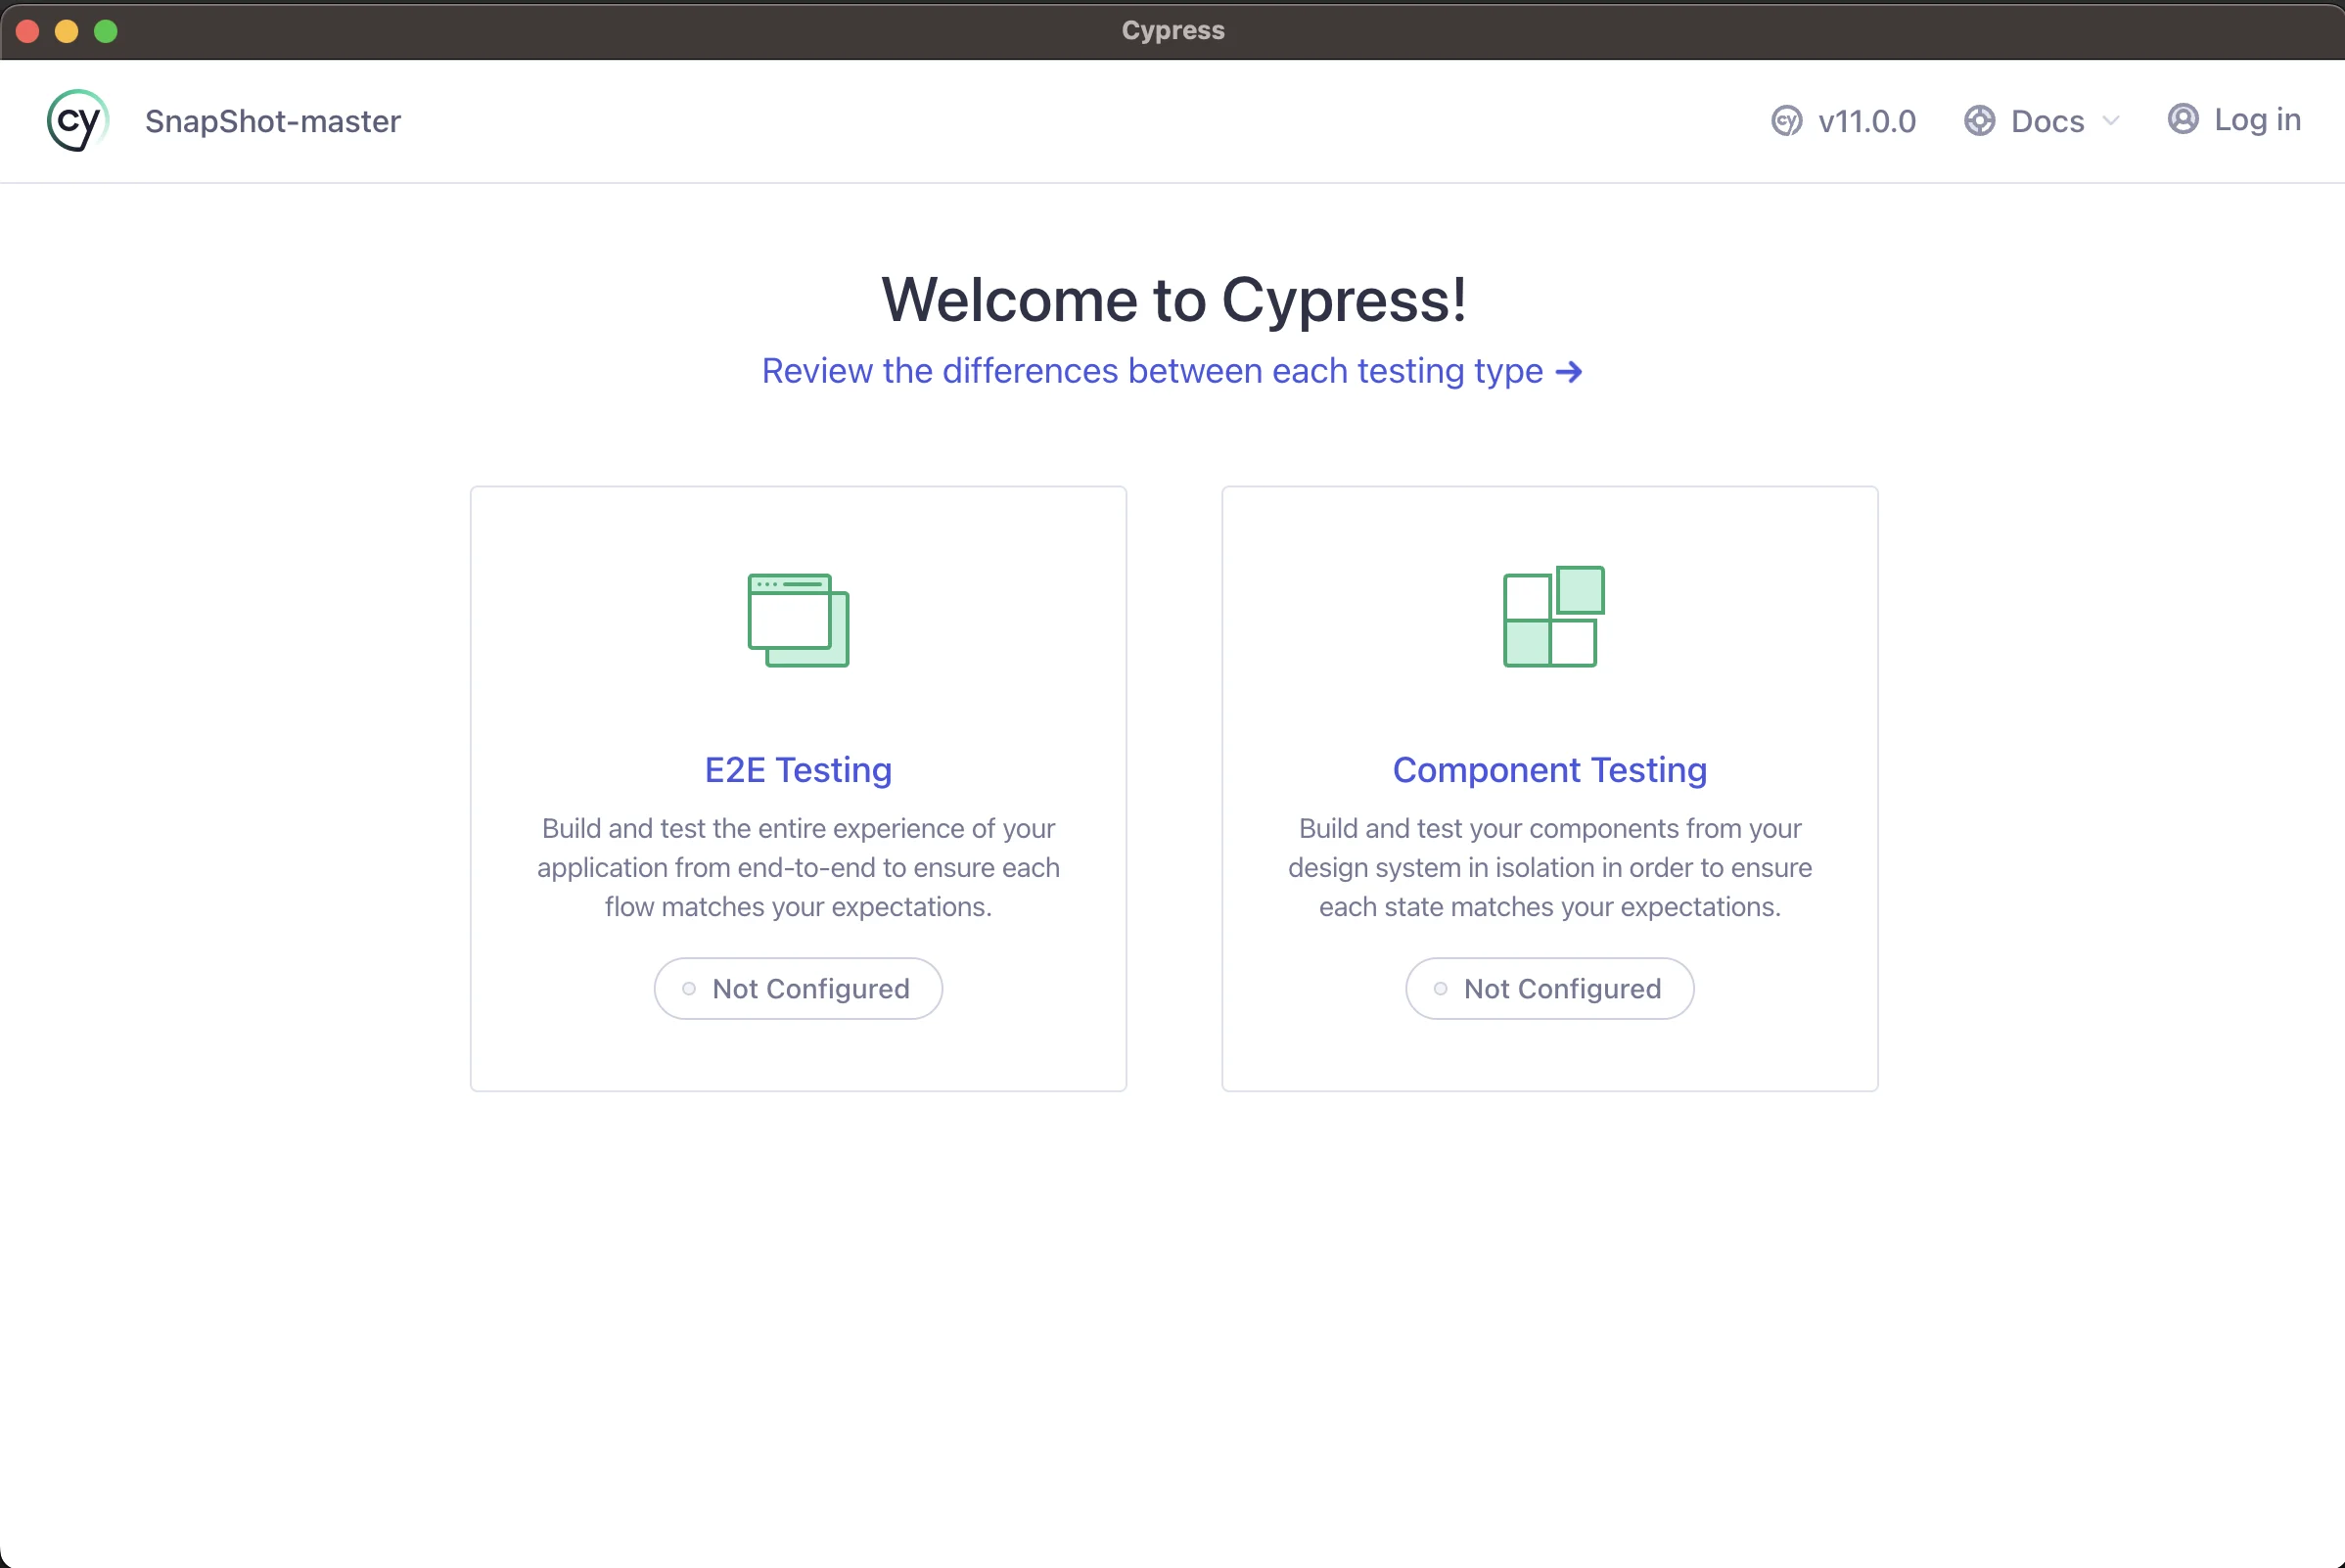
- Open and run Cypress to install it using the binary. You do this by typing the command npx cypress open in your terminal. If it's your first time running this command within your application, Cypress will prompt you to install some example tests and other helper files, and guide you through a basic configuration necessary for Cypress to operate within your application.

- Add the cypress-cucumber-preprocessor package to your project. This package was originally maintained by BrainFamily, but was recently taken over by Badeball. You can find it here:
https://www.npmjs.com/package/@badeball/cypress-cucumber-preprocessor
Use the command npm install --save-dev @badeball/cypress-cucumber-preprocessor
You can find the quick start guide here:
- Add @bahmutov/cypress-esbuild-preprocessor esbuild https://github.com/bahmutov/cypress-esbuild-preprocessor. Use the command npm i -D @bahmutov/cypress-esbuild-preprocessor esbuild. This should result in "esbuild": "^0.15.13" as well as "@bahmutov/cypress-esbuild-preprocessor": "^2.1.5" becoming part of the devDependencies in your package.json file.
Add cypress/webpack-preprocessor to your project. Use the command npm i --save-dev @cypress/webpack-preprocessor to add this package. The devDependencies section of your package.json file should now include, "@cypress/webpack-preprocessor": "^5.15.3" if done correctly.
- Configure cypress.config.ts file. Configure specPattern with "**/*.feature" and setupNodeEvents. Here is my file:
const { defineConfig } = require("cypress");
const createBundler = require("@bahmutov/cypress-esbuild-preprocessor");
const addCucumberPreprocessorPlugin =
  require("@badeball/cypress-cucumber-preprocessor").addCucumberPreprocessorPlugin;
const createEsbuildPlugin =
  require("@badeball/cypress-cucumber-preprocessor/esbuild").createEsbuildPlugin;

module.exports = defineConfig({
  e2e: {
    async setupNodeEvents(on, config) {
      const bundler = createBundler({
        plugins: [createEsbuildPlugin(config)],
      });

      on("file:preprocessor", bundler);
      await addCucumberPreprocessorPlugin(on, config);

      return config;
    },
    specPattern: "cypress/e2e/features/*.feature",
    baseUrl: "http://localhost:3000/SnapShot#/SnapScout/",
    chromeWebSecurity: false,
  },
});
Additionally, you will want to generate a cypress-cucumber-preprocessorrc.json file at the root level of your project in order to handle some additional configuration settings. My file contents are below:
{
  "json": {
    "enabled": false,
    "output": "jsonlogs/log.json",
    "formatter": "cucumber-json-formatter.exe"
  },
  "messages": {
    "enabled": false,
    "output": "jsonlogs/messages.ndjson"
  },
  "html": {
    "enabled": false
  },
  "stepDefinitions": [
    "[filepath]/**/*.{js,ts}",
    "[filepath].{js,ts}",
    "cypress/e2e/step_definitions/*.{js,ts}",
    "[filepath]\\***.{js,ts}",
    "[filepath].{js,ts}",
    "cypress\\e2e\\step_definitions\\*.{js,ts}"
  ]
}
Organize your files. There are multiple ways to organize your feature files and step definition files. For the purposes of this tutorial, we will place our feature files in a cypress > e2e > features directory, and our step definition files in a cypress > e2e > step_definitions directory.
Let's Write Some Tests!!
Let's create a simple feature file with some basic scenarios and test steps for this application. Here is a start in app.feature!
Feature: Snapshot website test scenarios
  Scenario: visiting the home page - successful search
    Given I visit the home page
    Then the header should be visible
    Then I click in the text input
    Then I type birds into the search input and press search button
    Then I should see Birds Images in header
    Then I click the Food button and see Food header and 24 images
import { Given, Then } from "@badeball/cypress-cucumber-preprocessor";

Given("I visit the home page", () => {
  cy.visit("/");
});

Then("the header should be visible", () => {
  cy.get("h1").should("be.visible");
});

Then("I click in the text input", () => {
  cy.get("input").click();
});

Then("I type birds into the search input and press search button", () => {
  cy.get("input").type("birds");
  cy.get(".search-button").click();
});

Then("I should see Birds Images in header", () => {
  cy.get(":nth-child(24) > img").should("be.visible");
});

Then("I click the Food button and see Food header and 24 images", () => {
  cy.get(":nth-child(4) > a").click({ force: true });
  cy.get(":nth-child(24) > img").should("be.visible");
});
Summary
As you can see, setting up Cypress with Cucumber is a fairly straight-forward process. There are incredible benefits to using Cucumber with Cypress, particularly related to facilitating communication between non-technical and technical members of a development team, as well as creating ongoing project documentation, and an easy-to-understand guide for what your application or feature is doing.