Skip to content

QR Code Scanning & Generation

QR Code Scanning & Generation

This article was written over 18 months ago and may contain information that is out of date. Some content may be relevant but please refer to the relevant official documentation or available resources for the latest information.

QR Code Scanning & Generation with ZXing and Angular

QR codes provide a very valuable way of sharing information with users, and many applications rely on them for various purposes. Common examples of places where QR codes can be useful include but are not limited to theaters, social gatherings and other booking services. Integrating QR codes can seem intimidating, but thankfully they’re not too difficult to handle with Angular and the help of a couple of robust software libraries such as ZXing.

What is ZXing?

ZXing, also known as “Zebra Crossing” is a software library that allows developers to easily integrate scanning many different types of 1D and 2D barcodes. This library was originally written in Java, however many ports to other languages and platforms exist, including JavaScript.

There are a couple of ways to use ZXing. You could either directly use the JavaScript library, which is framework-agnostic, or you could use a framework-specific library. I’m going to demonstrate how to use ZXing to scan QR codes with the Angular version of the library called ngx-scanner specifically, which has a full-fledged scanner component that makes it somewhat easy to integrate.

Let’s Scan some QR Codes with Angular!

Getting ngx-scanner up and running doesn’t take much setup at all. All you have to do is add an import to ZXingScannerModule inside of the module that you will be scanning QR codes in, and add a component to your template. Below shows a real-world example of how the <zxing-scanner> component would be used.

<zxing-scanner
  #scanner
  *ngIf="startCamera$ | async"
  class="scanner"
  [enable]="(enable$ | async) ?? false"
  [autostart]="true"
  [device]="(selectedDevice$ | async) ?? undefined"
  [formats]="allowedFormats"
  (camerasFound)="devices$.next($event)"
  (scanSuccess)="scanSuccess$.next($event)"
  (scanError)="scanError($event)"
></zxing-scanner>

You’ll notice a lot of observables being referenced here. I’ll go over them one by one. Let’s start with the devices subject:

devices$ = new BehaviorSubject<MediaDeviceInfo[]>([]);

This subject has data sent to it whenever cameras have been identified by the scanning component. We want to keep track of these so that we’re able to select a camera to use. In our case we’ll just select the first camera for simplicity's sake, as you can see happens with the selectedDevice$ observable that we have bound to the [device] attribute on the scanner:

selectedDevice$: Observable<MediaDeviceInfo> = this.devices$.pipe(
  map((device) => device[0]),
  distinctUntilChanged(),
  shareReplay(1)
);

We utilize shareReplay here so we don’t need to re-scan the devices whenever additional subscribers check what devices are available.

enable$ is a simple observable that emits true whenever devices have been detected, and startCamera$ is an observable that toggles between true and false whenever data is pushed to the toggleCamera$ subject.

toggleCamera$ = new BehaviorSubject<boolean>(false);

startCamera$ = this.toggleCamera$.pipe(
  scan((acc) => !acc, true),
  startWith(true)
);

The scan function from RxJs is utilized so we have the previous state and can use that to determine in which direction the stored boolean should toggle to.

Finally we push successfully scanned codes to scanSuccess$ which we can then subscribe to in the template.

All together the final component code should look something like this:

@Component({
  selector: 'app-scanner',
  templateUrl: './scanner.component.html',
  styleUrls: ['./scanner.component.scss'],
})
export class ScannerComponent {
  @ViewChild('scanner') scanner!: ZXingScannerComponent;

  allowedFormats = [BarcodeFormat.QR_CODE];

  devices$ = new BehaviorSubject<MediaDeviceInfo[]>([]);

  selectedDevice$: Observable<MediaDeviceInfo> = this.devices$.pipe(
    map((device) => device[0]),
    distinctUntilChanged(),
    shareReplay(1)
  );

  enable$ = this.devices$.pipe(map(Boolean));

  toggleCamera$ = new BehaviorSubject<boolean>(false);

  startCamera$ = this.toggleCamera$.pipe(
    scan((acc) => !acc, true),
    startWith(true)
  );

  scanSuccess$ = new BehaviorSubject<string>('');

  scanError(error: Error) {
    console.error(error);
  }
}

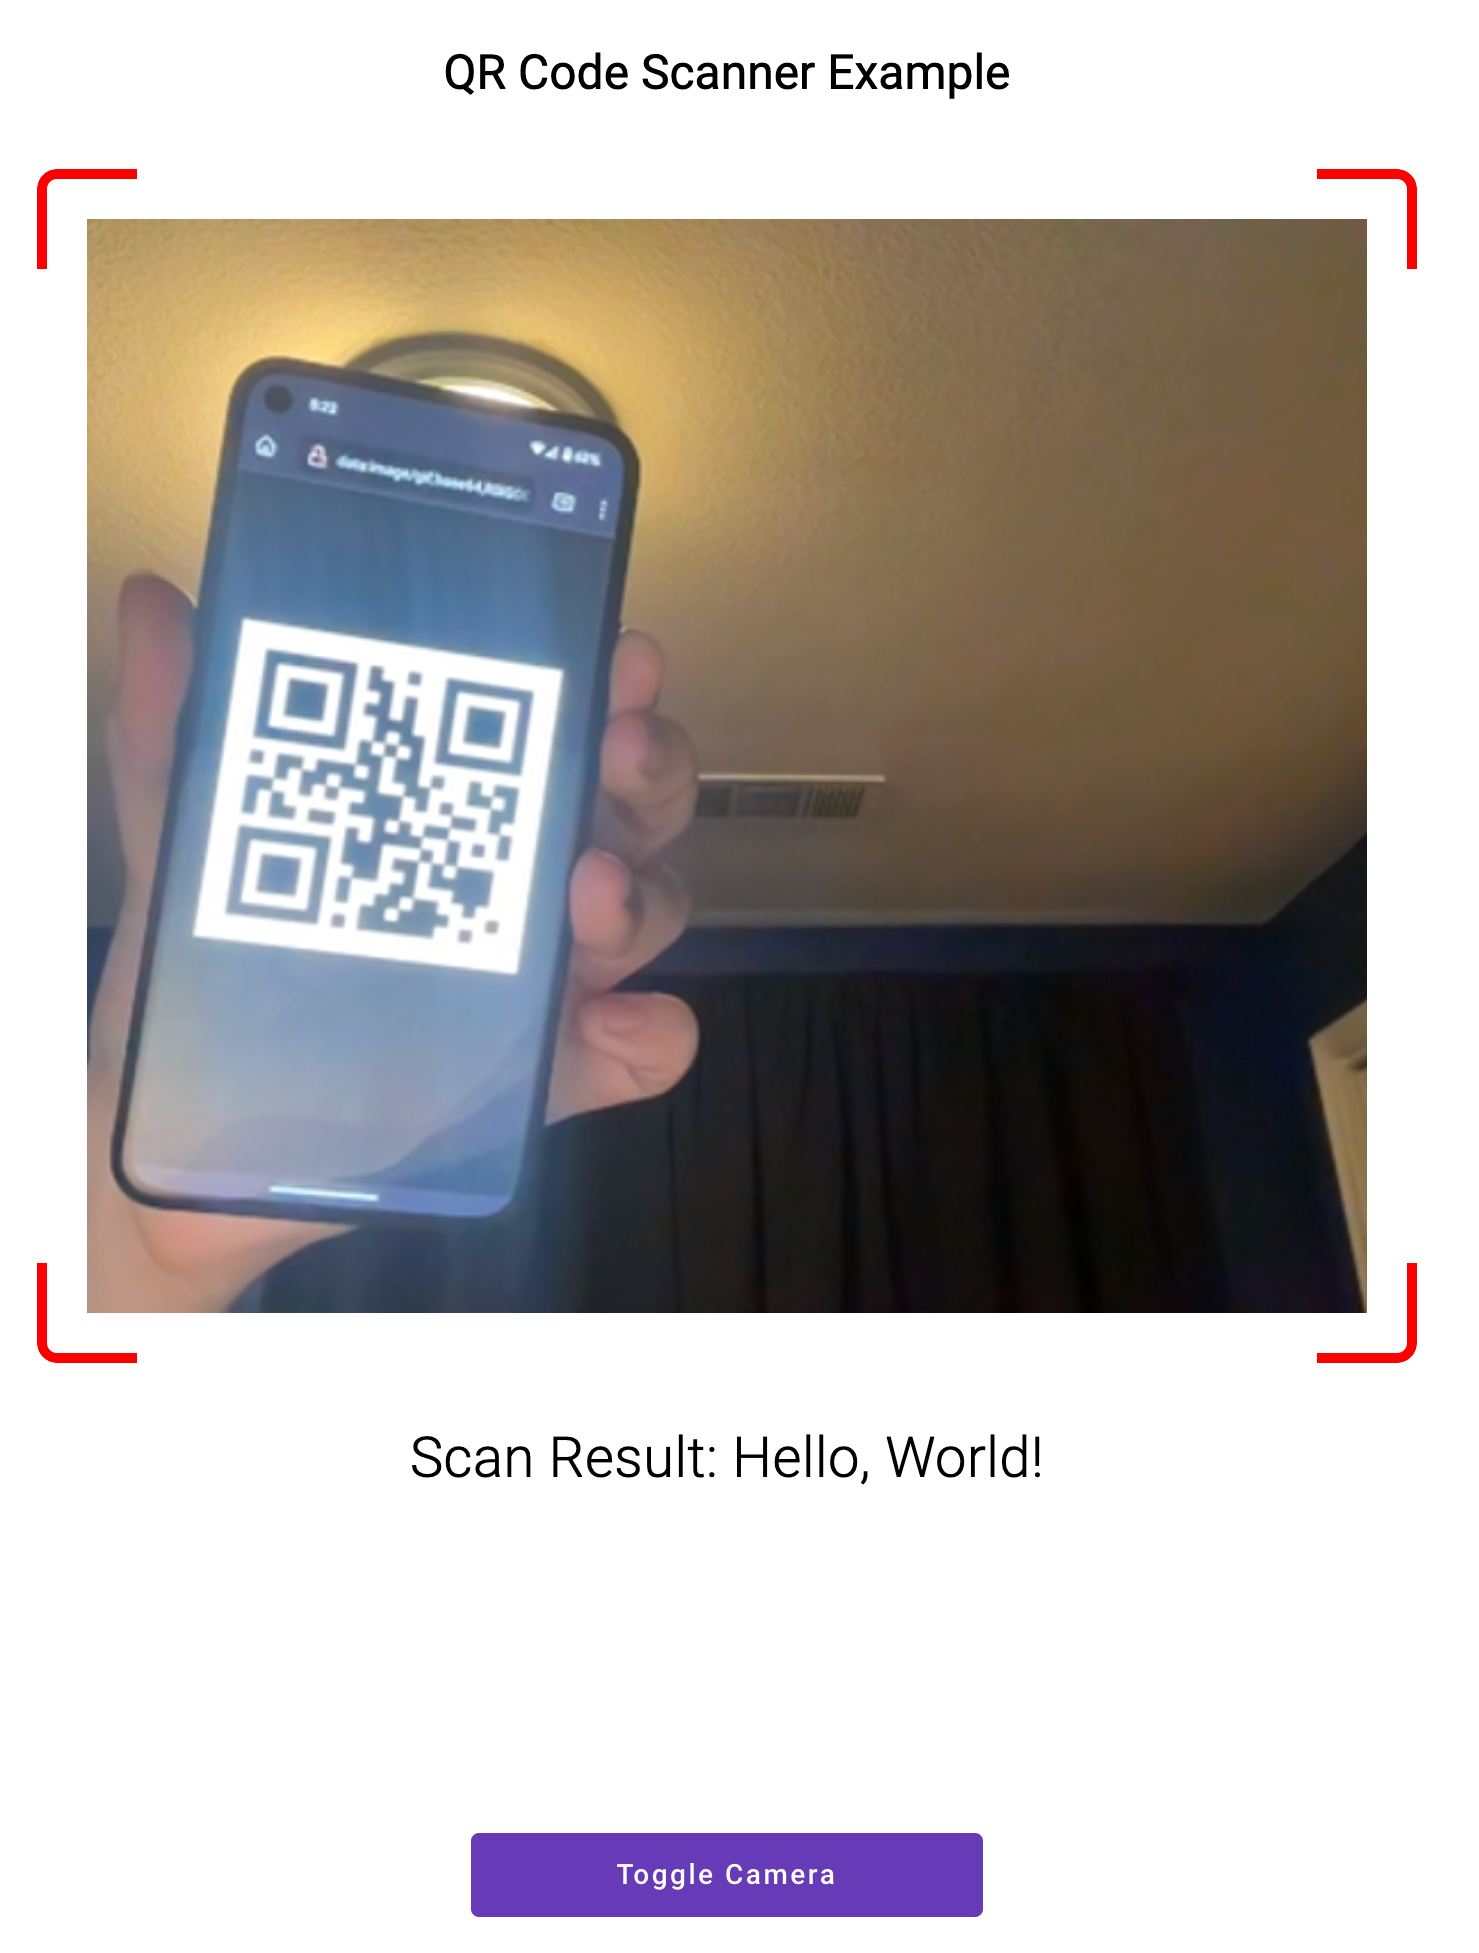
If we use this component then you should get something that looks like this: QR code scanning

Scanning QR codes is awesome, but we can also generate our own QR codes as well!

Generating our own QR Codes

Unfortunately the ZXing scanner component we’re using is limited to just scanning QR codes, however there is another component library called ngx-kjua that can do this. Like ZXing this component is also based off of another pre-existing library that is framework-agnostic, in this case, kjua.

Fortunately kjua is very easy to use. You simply supply it a code and it will render a QR code.

<ngx-kjua
  class="code"
  *ngIf="code$ | async"
  [text]="code$ | async"
  [size]="256"
></ngx-kjua>

How the QR code is rendered can change. There is an optional [render] attribute that you can specify that takes a few values. You can input ‘image’, ‘canvas’ or ‘svg’. The default render mode is ‘svg’. It should be noted that ‘svg’ and ‘canvas’ render modes made copying the image more difficult, so use ‘image’ if you want to make that possible.

The component code associated with this template is very small. The component using ngx-kjua has a code observable that is updated with a new random code whenever a “Generate” button is pressed.

import { Component } from '@angular/core';
import { BehaviorSubject } from 'rxjs';
import randomstring from 'randomstring';

@Component({
  selector: 'app-generator',
  templateUrl: './generator.component.html',
  styleUrls: ['./generator.component.scss'],
})
export class GeneratorComponent {
  code$ = new BehaviorSubject<string>(this.generateCode());

  generateCodeClick(event: MouseEvent) {
    this.code$.next(this.generateCode());
  }

  private generateCode(): string {
    return randomstring.generate({ length: 12, charset: 'alphabetic' });
  }
}

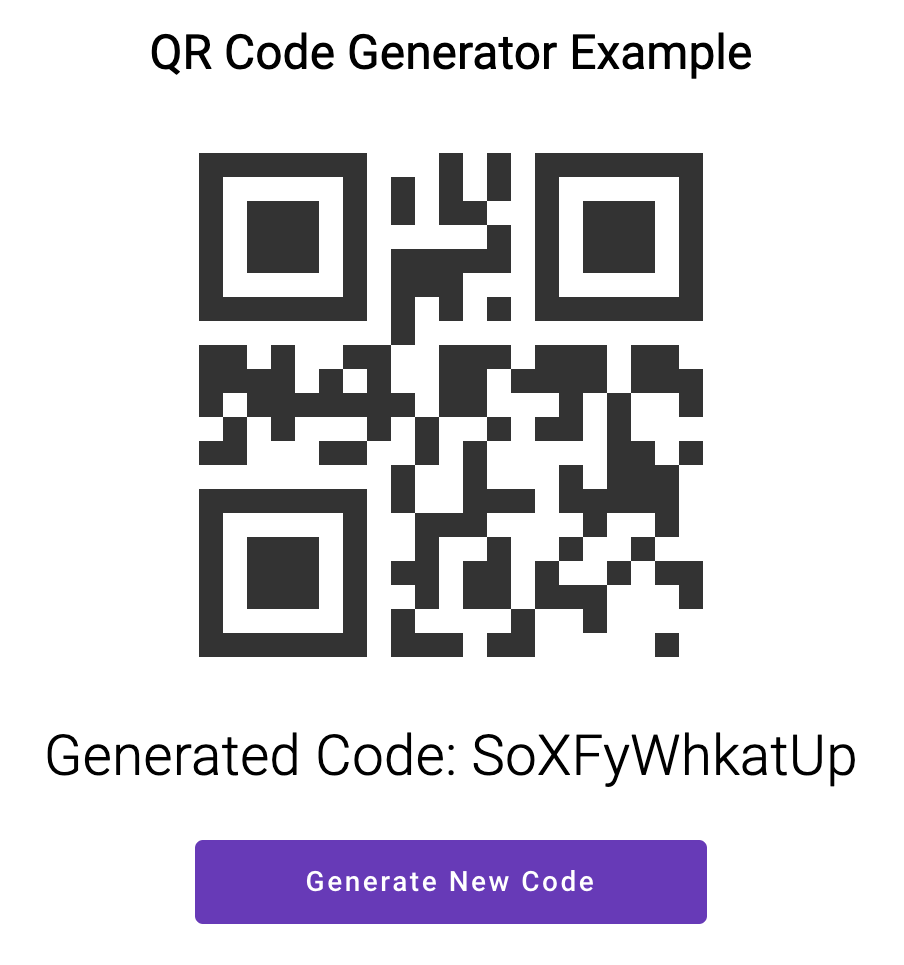
I’ve opted to go with the randomstring package in this case. This component could be modified to instead allow for custom codes using a textbox if you want to encode URLs or other useful values that typically go inside of QR codes.

The result looks like this: QR code scanner result

Summary

Thanks to projects like ZXing and kjua it is easy to integrate handling of QR codes in Angular applications, be it for scanning them or creating them. I hope this guide has helped you. You can find the full example showcasing generation and scanning of QR codes in our blog-demos repository on GitHub.

This Dot is a consultancy dedicated to guiding companies through their modernization and digital transformation journeys. Specializing in replatforming, modernizing, and launching new initiatives, we stand out by taking true ownership of your engineering projects.

We love helping teams with projects that have missed their deadlines or helping keep your strategic digital initiatives on course. Check out our case studies and our clients that trust us with their engineering.

You might also like

Angular 18 Announced: Zoneless Change Detection and More cover image

Angular 18 Announced: Zoneless Change Detection and More

Angular 18 Announced: Zoneless Change Detection and More Angular 18 has officially landed, and yet again, the Angular team has proven that they are listening to the community and are committed to continuing the framework's renaissance. The release polishes existing features, addresses common developer requests, and introduces experimental zoneless change detection. Let's examine the major updates and enhancements that Angular 18 offers. 1. Zoneless Angular One of the most exciting features of Angular 18 is the introduction of experimental support for zoneless change detection. Historically, Zone.js has been responsible for triggering Angular's change detection. However, this approach has downsides, especially regarding performance and debugging complexity. The Angular team has been working towards making Zone.js optional, and Angular 18 marks a significant milestone in this journey. Key Features of Zoneless Angular 1. Hybrid Change Detection: In Angular 18, a new hybrid change detection mode is enabled by default. This mode allows Angular to listen to changes from signals and other notifications regarding changes that occur either inside an Angular zone or not. That effectively means you can write (library) code that works regardless of whether Zone.js is being used, paving the way to fully zoneless apps without compromising backward compatibility. For new applications, Angular enables zone coalescing by default, which removes the number of change detection cycles and improves performance. For existing applications, you can enable zone coalescing by configuring your NgZone provider in bootstrapApplication: ` 2. Experimental API for Zoneless Mode: Angular 18 introduces an experimental API to disable Zone.js entirely. This API allows developers to run applications in a fully zoneless mode, paving the way for improved performance and simpler debugging. The zoneless change detection requires an entirely new scheduler which relies on notifications from the Angular core APIs, such as ChangeDetectorRef.markForCheck (called automatically by the AsyncPipe), ComponentRef.setInput, signal updates, host listener updates, or attaching a view that was marked dirty. 3. Improved Composability and Interoperability: Zoneless change detection enhances composability for micro-frontends and interoperability with other frameworks. It also offers faster initial render and runtime, smaller bundle sizes, more readable stack traces, and simpler debugging. How to Try Zoneless Angular To experiment with zoneless change detection, you can add the provideExperimentalZonelessChangeDetection provider to your application bootstrap: ` After adding the provider, remove Zone.js from your polyfills in angular.json. You can read more about the experimental zoneless change detection in the official documentation. By the way, angular.dev is now considered the official home for Angular developers! 2. Server-side Rendering and Hydration Enhancements A feature I'm particularly excited about is the improvements to Angular's server-side rendering (SSR) and hydration in terms of developer experience and debugging: 1. Enhanced DevTools Support: Angular DevTools now includes overlays and detailed error breakdowns to help visualize and debug hydration issues directly in the browser. This refreshing focus on developer experience shows that the Angular team wants to make the framework more approachable and user-friendly. 2. Hydration Support for Angular Material: All Angular Material components now support client hydration and are no longer skipped, which enhances performance and user experience. 3. Event Replay: Available in developer preview, event replay captures user interactions during SSR and replays them once the application is hydrated, ensuring a seamless user experience before complete hydration. It is powered by the same library as Google Search. 4. i18n Hydration Support: Up to v17, Angular skipped hydration for components with i18n blocks. From v18, hydration support for i18n blocks is in developer preview, allowing developers to use client hydration in internationalized applications. 3. Stable Material Design 3 After introducing experimental support for Material Design 3 in Angular 17, Angular 18 now includes stable support. The key features of Material Design 3 in Angular 18 include: 1. Simplified Theme Styles: Based on CSS variables, the new theming styles offer more granular customization and a flexible API for applying color variants to components. 2. Theming Generation Schematics: Using the Ng CLI, you can generate Material 3 themes. 3. Sass APIs: New Sass APIs allow developers to read colors, typography, and other properties from the Material 3 theme, making it easier to create custom components. How to use Material Design 3 in Angular 18 To use Material Design 3 in Angular 18, you can define a theme in your application's styles.scss file using the mat.defineTheme function: ` Or generate a Material 3 theme using the Ng CLI: ` You can then apply the theme to your application using the mat.theme mixin: ` Head to the official guide for a more detailed guide. You'll also notice they have refreshed the docs with the new themes and further documentation. 4. Signal-Based APIs The path to fully signal-based components includes new signal inputs, model inputs, and signal query APIs. We already wrote about them as they were in developer-preview in v17, but they have been further refined in v18. These APIs offer a type-safe, reactive way to manage state changes and interactions within components: 1. Signal Input API: Signal inputs allow values to be bound from parent to child components. Those values are exposed using a signal and can change during the component's life cycle. 2. Model Input API: Model inputs are a special input type that enables a component to propagate new values back to the parent component. That allows developers to keep the parent component in sync with the child component with two-way binding. 3. Signal Query API: This was a particularly requested feature from the community. The signal query APIs work the same way as ViewChild and ContentChild under the hood, but they return signals, providing more predictable timing and type safety. 5. Fallback Content For ng-content A very requested feature from the community, Angular 18 introduces a new ng-content directive that allows developers to define fallback content when no content is projected into a component. This feature is particularly useful for creating reusable components with default content. Here's an example of using the new ng-content directive. Using the following component ` like this ` will render Howdy World. 6. Other Improvements In addition to the major updates mentioned above, Angular 18 also includes several other improvements and updates: 1. TypeScript 5.4: Angular 18 now supports TypeScript 5.4, which lets you take advantage of new features such as preserved narrowing in closures following last assignments. 2. Global Observable in Angular Forms: Angular 18 introduces a global events observable in Angular forms, which allows you to track all changes around any abstract control and its children, including the touched or dirty in a single observable. Here's an example of how you can use the global observable: ` 3. Stable Deferrable views: Deferrable views are now stable in Angular 18. 4. Stable Control Flow: The built-in control flow is now stable in Angular 18! It is more performant than its predecessor. It also received improved type checking, including guardrails for certain performance-related anti-patterns. 5. Route Redirects as Functions: For added flexibility in managing redirects, Angular v18 now lets you use a function for redirectTo that returns a string, which allows you to create more sophisticated redirection logic based on runtime conditions. For example: ` Conclusion Angular 18 is a significant release that brings many new features, enhancements, and experimental APIs to the Angular ecosystem. The introduction of zoneless change detection, improvements to server-side rendering and hydration, stable Material Design 3 support, signal-based APIs, and fallback content for ng-content are just a few of the highlights of this release. The Angular team has again demonstrated its commitment to improving the framework's developer experience, performance, and flexibility. It also demonstrated a clear vision for Angular's future. If you're curious about what's next, you can check out the Angular roadmap....

Overview of the New Signal APIs in Angular cover image

Overview of the New Signal APIs in Angular

Overview of the New Signal APIs in Angular Google's Minko Gechev and Jeremy Elbourn announced many exciting things at NG Conf 2024. Among them is the addition of several new signal-based APIs. They are already in developer preview, so we can play around with them. Let's dig into it, starting with signal-based inputs and the new matching outputs API. Signal Based Inputs Discussions about signal-based inputs have been taking place in the Angular community for some time now, and they are finally here. Until now, you used the @Input() decorator to define inputs. This is what you'd have to write in your component to declare an optional and a required input: ` With the new signal-based inputs, you can write much less boilerplate code. Here is how you can define the same inputs using the new syntax: ` It's not only less boilerplate, but because the values are signals, you can also use them directly in computed signals and effects. That, effectively, means you get to avoid computing combined values in ngOnChanges or using setters for your inputs to be able to compute derived values. In addition, input signals are read-only. The New Output I intentionally avoid calling them signal-based outputs because they are not. They still work the same way as the old outputs. The Angular team has just introduced a new output API that is more consistent with the latest inputs API and allows you to write less boilerplate, similar to the new input API. Here is how you would define an output until now: ` Here is how you can define the same output using the new syntax: ` The thing I like about the new output API is that sometimes it happens to me that I forget to instantiate the EventEmitter because I do this instead: ` You won't forget to instantiate the output with the new syntax because the output function does it for you. Signal Queries I am sure most readers know the @ViewChild, @ViewChildren, @ContentChild, and @ContentChildren decorators very well and have experienced the pain of triggering the infamous ExpressionChangedAfterItHasBeenCheckedError or having the values unavailable when needed. Here is a refresher on how you would use these decorators until now: ` With the new signal queries, similar to the new input API, the values are signals, and you can use them directly in computed signals and effects. You can define the same queries using the new syntax: ` Jeremy Elbourn mentioned that the new signal queries have better type inference and are more consistent with the new input and output APIs. He also showcased a brand new feature not available with the old queries. You can now define a query as required, and the Angular compiler will throw an error if the query has no result, guaranteeing that the value won't be undefined. Here is how you can define a required query: ` Model Inputs Jeremy and Minko announced the last new feature is the model inputs. The name is vague, but the feature is cool—it simplifies the definition of two-way bindings. Until now, to achieve two-way binding, you would have to define an input and an output following a given naming convention. @Input and @Output had to be defined with the same name (followed by "Change" in the case of the output). Then, you could use the template's [()] syntax. ` ` That way, you could keep the value in sync between the parent and the child component. With the new model inputs, you can define a two-way binding with a single line of code. Here is how you can define the same two-way binding using the new syntax: ` The html template stays the same: ` The model function returns a writable signal that can be updated directly. The value will be propagated back to any two-way bindings. Conclusion The new signal-based APIs are a great addition to Angular. They allow you to write less boilerplate code and make your components more reactive. The new APIs are already in developer preview, so you can start playing around with them today. I look forward to seeing how the community will adopt these new features and what other exciting things the Angular team has in store for us, such as zoneless apps by default....

Making Seamless Page Transitions with the View Transitions API cover image

Making Seamless Page Transitions with the View Transitions API

Make Seamless Page Transitions using the View Transitions API Traditionally web applications have always had a less polished experience, both functionally and visually speaking, compared to native applications on mobile and other platforms. This has been improving over the years with the introduction of new web APIs and standards. One such new API that bridges that gap is the View Transitions API. What is the View Transitions API? The View Transitions API is a new browser feature that allows developers to more easily create animated transitions between pages and views, similar to how mobile apps have transitions when navigating between pages. Adding view transitions to your application can reduce the cognitive load on your users and make the experience feel less inconsistent. One great thing about view transitions is that they can be used by both SPAs (single-page applications) and MPAs (multi-page applications) alike! Using the View Transitions API for SPAs Let’s see how we can use view transitions ourselves. We will use examples adapted from demos created by the wonderful Jake Archibald and Bramus. There are some alterations to a few of the examples to make them work with the newest version of the View Transitions API, but otherwise, they’re mostly the same. The process of getting view transitions working for SPAs is as simple as calling document.startViewTransition right before starting navigation and replacing your page’s content immediately after that. You need to make this call in your router or in an event listener that triggers your page navigation. The following is an example of how you can hook into page navigation in a vanilla JavaScript application. This example uses the Navigation API if it’s available. As of the time of writing this article only Chromium-based browsers support the Navigation API, but there is a fallback to using a click listener on link elements so that this works with Firefox and Safari. ` If you’re using a framework, then there’s probably a better way to do this specific to that framework than by using this contrived example. For example, if you are implementing usage of this API with a Next application, you may opt for something like next-view-transitions. For this article, we’re going to focus on the way this is done in vanilla JavaScript so that the fundamentals of using the API are understood. Knowing how it’s implemented in vanilla JavaScript should give you enough understanding to implement this in the framework of your choice if there isn’t already a library that does it for you. Now we have a way to know when a navigation is being requested. Using the above utility function we can start the animation and replace our content as follows: ` getMyPageContentSomehow can be any function that returns HTML. How that is implemented will depend on your application and framework of choice. If you want to run these examples on your machine, the demo repository has instructions in its README. In essence, it’s as simple as hosting an HTTP server at the root of the project and visiting localhost. No fancy build system is required! By default, a fade is done that only lasts for a moment. The animation that happens can be configured using CSS with the ::view-transition-group pseudo-element on the element you want to animate, which in our case is the entire page, and we pass in root. ` Given that the animation properties are used, you have much control over what kind of animation to do. You can change the duration and the interpolation, add keyframes and gradients, and even add image masks. You can learn more about the animation properties in CSS on MDN. Using the View Transitions API for MPAs As mentioned, view transitions also work for MPAs with no client-side routing. Setting up view transitions for MPAs is much easier than for SPAs. All you have to do is include the CSS rule on all pages where you want the animations. ` Of course, like how it works with SPAs, you can customize the animations to your heart’s content using the view transition pseudo-elements. Conclusion I hope this article helped you understand the fundamentals of using the View Transitions API. Now that most browsers support it and it’s not too difficult to add it to existing applications, it is a great time to learn how to use it. You can view a full list of examples here (made by Jake Archibald and Bramus) if you want to see how advanced the animations can get. I like the Star Wars ones especially. The README explains how to get all the examples up and running (a total of 43!)....

The simplicity of deploying an MCP server on Vercel cover image

The simplicity of deploying an MCP server on Vercel

The current Model Context Protocol (MCP) spec is shifting developers toward lightweight, stateless servers that serve as tool providers for LLM agents. These MCP servers communicate over HTTP, with OAuth handled clientside. Vercel’s infrastructure makes it easy to iterate quickly and ship agentic AI tools without overhead. Example of Lightweight MCP Server Design At This Dot Labs, we built an MCP server that leverages the DocuSign Navigator API. The tools, like `get_agreements`, make a request to the DocuSign API to fetch data and then respond in an LLM-friendly way. ` Before the MCP can request anything, it needs to guide the client on how to kick off OAuth. This involves providing some MCP spec metadata API endpoints that include necessary information about where to obtain authorization tokens and what resources it can access. By understanding these details, the client can seamlessly initiate the OAuth process, ensuring secure and efficient data access. The Oauth flow begins when the user's LLM client makes a request without a valid auth token. In this case they’ll get a 401 response from our server with a WWW-Authenticate header, and then the client will leverage the metadata we exposed to discover the authorization server. Next, the OAuth flow kicks off directly with Docusign as directed by the metadata. Once the client has the token, it passes it in the Authorization header for tool requests to the API. ` This minimal set of API routes enables me to fetch Docusign Navigator data using natural language in my agent chat interface. Deployment Options I deployed this MCP server two different ways: as a Fastify backend and then by Vercel functions. Seeing how simple my Fastify MCP server was, and not really having a plan for deployment yet, I was eager to rewrite it for Vercel. The case for Vercel: * My own familiarity with Next.js API deployment * Fit for architecture * The extremely simple deployment process * Deploy previews (the eternal Vercel customer conversion feature, IMO) Previews of unfamiliar territory Did you know that the MCP spec doesn’t “just work” for use as ChatGPT tooling? Neither did I, and I had to experiment to prove out requirements that I was unfamiliar with. Part of moving fast for me was just deploying Vercel previews right out of the CLI so I could test my API as a Connector in ChatGPT. This was a great workflow for me, and invaluable for the team in code review. Stuff I’m Not Worried About Vercel’s mcp-handler package made setup effortless by abstracting away some of the complexity of implementing the MCP server. It gives you a drop-in way to define tools, setup https-streaming, and handle Oauth. By building on Vercel’s ecosystem, I can focus entirely on shipping my product without worrying about deployment, scaling, or server management. Everything just works. ` A Brief Case for MCP on Next.js Building an API without Next.js on Vercel is straightforward. Though, I’d be happy deploying this as a Next.js app, with the frontend features serving as the documentation, or the tools being a part of your website's agentic capabilities. Overall, this lowers the barrier to building any MCP you want for yourself, and I think that’s cool. Conclusion I'll avoid quoting Vercel documentation in this post. AI tooling is a critical component of this natural language UI, and we just want to ship. I declare Vercel is excellent for stateless MCP servers served over http....

Let's innovate together!

We're ready to be your trusted technical partners in your digital innovation journey.

Whether it's modernization or custom software solutions, our team of experts can guide you through best practices and how to build scalable, performant software that lasts.

Prefer email? hi@thisdot.co