Introduction
As front-end developers, we are always looking for ways to enhance the user experience of our applications. One of the ways we can achieve this is by utilizing the browser storage to store data, and implement some form of caching.
Our web browser has provided us with different storage options to store data such as cookies, localStorage, and indexDB. In this article, we will be looking at how we can use storage to enhance a Qwik application. We are going to also explore hook technology in implementing this.
Hooks 🪝
We will be extracting our storage function into a hook function that we can use in any part of our application. What are Hooks? Hooks are JavaScript functions that manage a component’s state and side effects by isolating them. That means we can isolate all the stateful logic into a hook and use it in any component. And just like in ReactJS, Qwik also allows us to create our own custom hooks.
Project Set Up
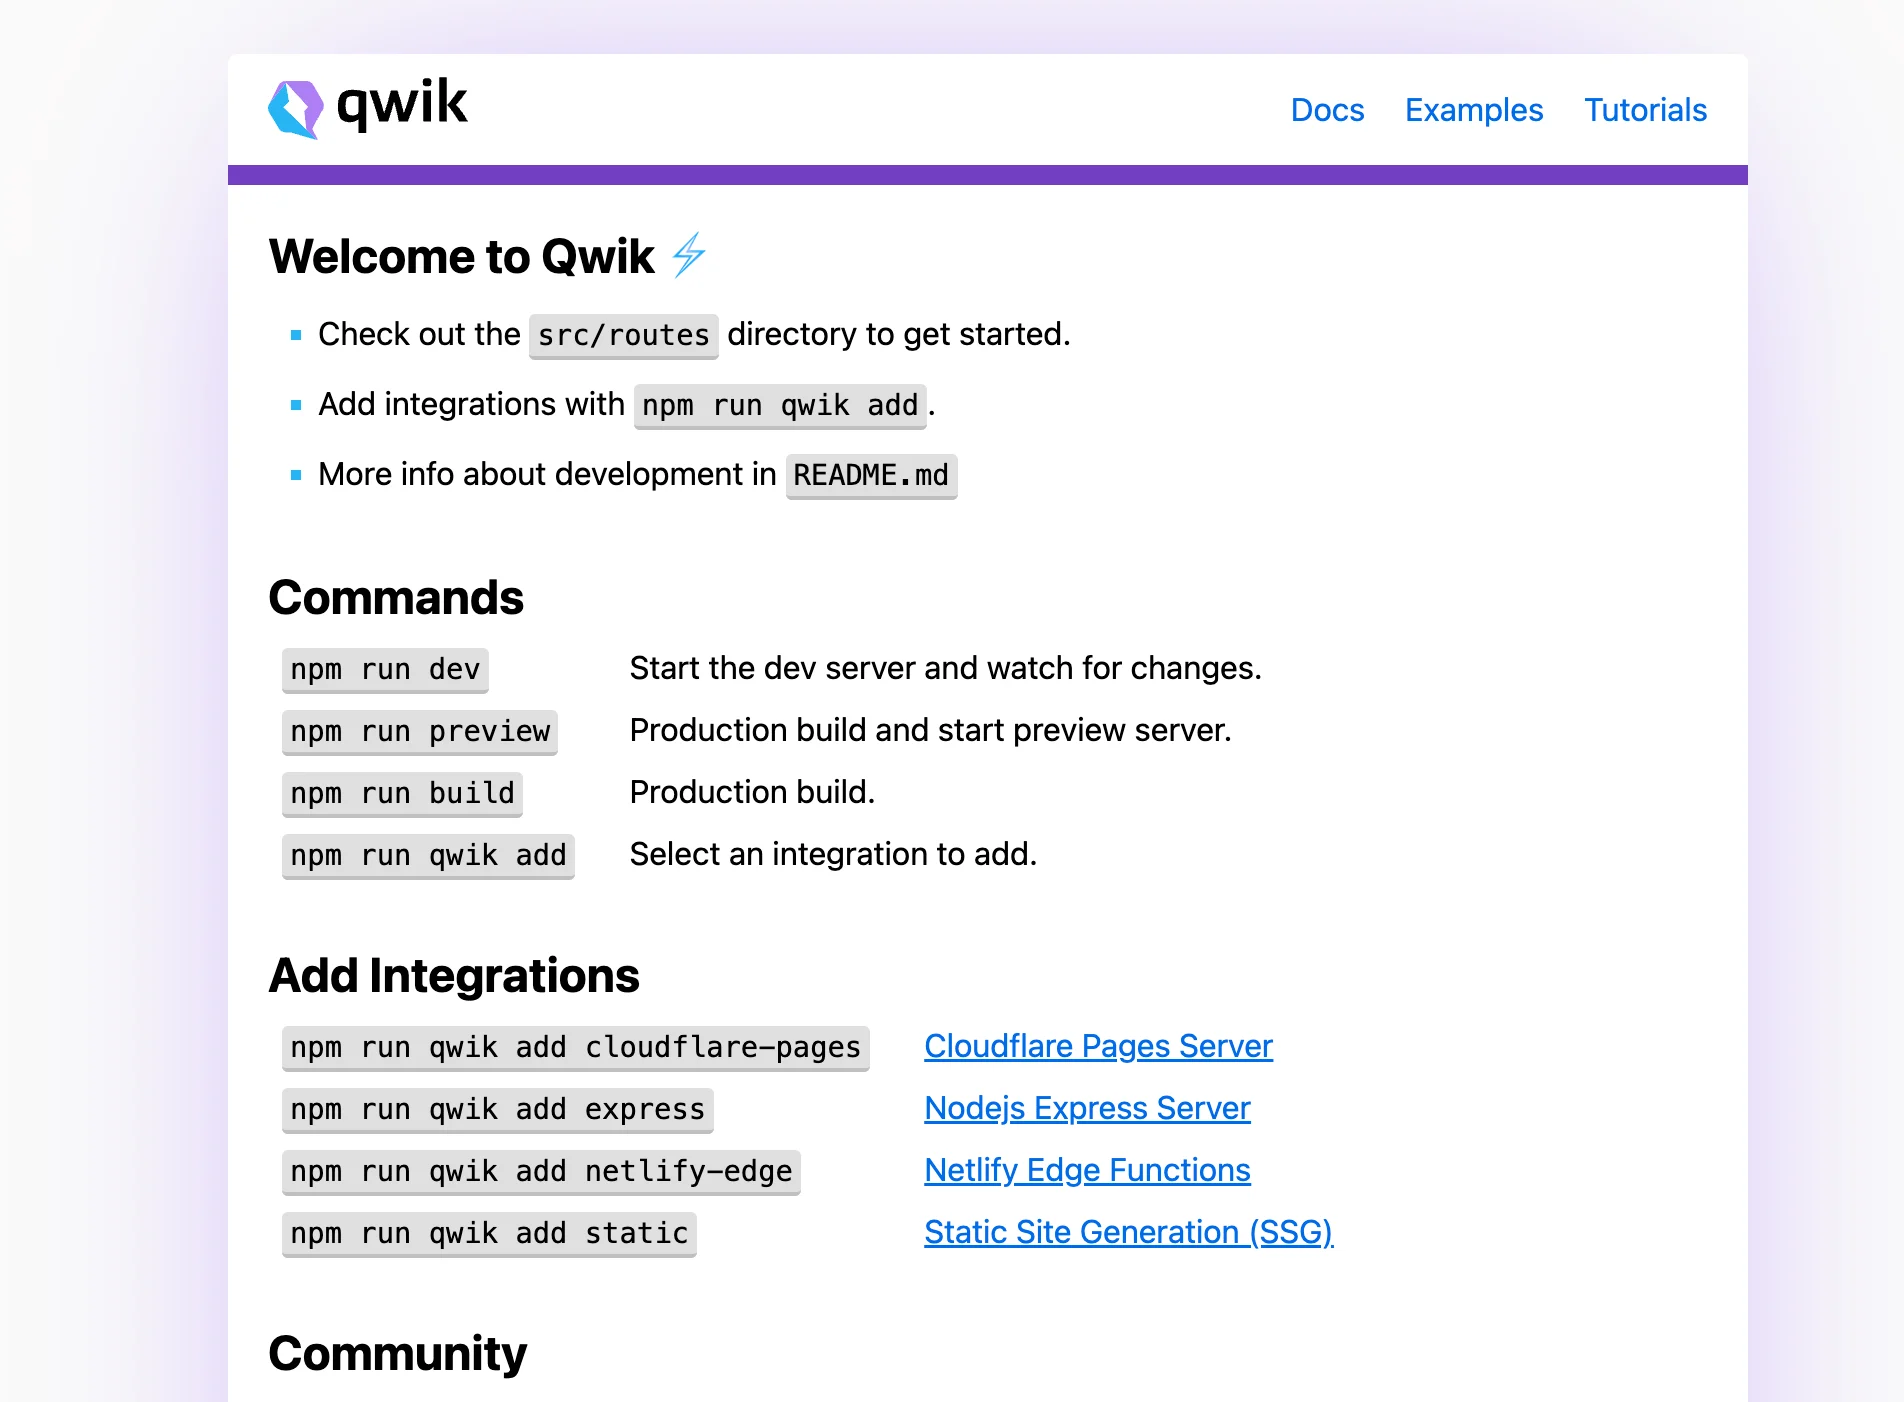
To get started, we need to create a new Qwik app. We can do this by running the following command in our terminal:
npm create qwik@latest
You can also get additional tools and configurations using our starter.dev kit by running the command in your terminal:
npm create @this-dot/starter --kit qwik-graphql-tailwind
After the project is created, we can run the following command to start the development server:
npm run dev
Now we can open our browser and navigate to http://localhost:5143 to see our app running.
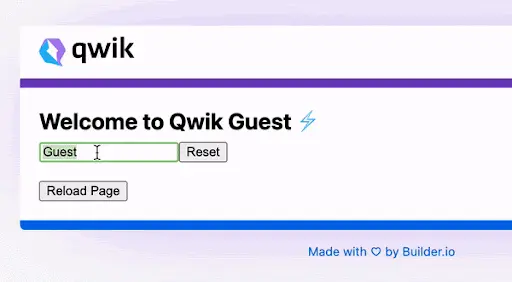
The demo app we will be building is a simple form with an input field and a button. The input field will be used to enter a value, and the button will be used to reset the form and the storage state.
We will also see how we apply this functionality in our Qwik GitHub showcase app to persist/catch data we fetch from the GitHub API.
Storage Hook
After the project is created, we can create a new folder in the src folder and name it “hooks”. In the hooks folder, we will create a new file and name it useLocalStorage.ts. In this file, we will create our useLocalStorage hook.
  import { $, QRL, useClientEffect$, useStore } from "@builder.io/qwik";

  export function useLocalStorage(key: string, initialState: any): [any, QRL<(value: any) => void>]  {
    const store = useStore({ value: initialState });

    useClientEffect$(() => {
      try {
        // Get from local storage by key
        const item = window.localStorage.getItem(key);
        // Parse stored json or if none return initialState
        store.value = item ? JSON.parse(item) : initialState;
      } catch (error) {
        // If error also return initialState
        console.log(error);
        store.value = initialState;
      }
    });

    const setValue$ = $((value: any) => {
      try {
        // Save state
        store.value = value;
        // Save to local storage
        if (typeof window !== "undefined") {
          window.localStorage.setItem(key, JSON.stringify(value));
        }
      } catch (error) {
        // A more advanced implementation would handle the error case
        console.log(error);
      }
    });

    return [store, setValue$];
  }
Let me explain what is happening here:
- The
useStorehook is used to store the value. We initially set this value to the initial state value passed to our custom hook. - In the
useClientEffect$hook, which runs on the client, we try to update our store value with the value from the localStorage based on thekeypassed to the hook. If the value is found, we set its parsed value to the store value. If not, we set the store value to the initial state passed to the hook. We also catch any error that might occur, and set the store value to the initial state. - We also have a
setValue$function that is used to set the value of the store and also save it to the localStorage. ThesetValue$function is wrapped in a$function, which is used to create a QRL function- a Qwik optimizer marker function. For more information on QRL, visit the docs. - We also return store and the
setValue$function. This exposes them to be consumed in our components. We don't want to return the value of the store or else it will lose its reactivity.
Form Component
In the components folder, we will create a new folder called form, which will contain an index file that will export our Form component. The form will be expecting two props; value and setValue, which are from the useLocalStorage hook.
import { component$, QRL } from "@builder.io/qwik";

interface IProps {
  value: string,
  setValue: QRL<(value: any) => void>
}

export default component$((props: IProps) => {

  return (
    <form>
      <input
        type="text"
        value={props.value}
        onInput$={(e: KeyboardEvent) => {
          const input = e.target as HTMLInputElement;
          props.setValue(input.value)
        }}
        placeholder="Name"
        aria-label="name"
      />
      <input type="submit" value="Reset" />
    </form>
  );
});
In our index file, we will import the useLocalStorage hook and the Form component, and our updated index file will look like this:
  import { component$ } from '@builder.io/qwik';
  import Form from '~/components/form';
  import { useLocalStorage } from '~/hooks/useLocalStorage';

  export default component$(() => {
    const [value, setValue] = useLocalStorage("name", "Guest");

    return (
      <div>
        <h1>
          Welcome to Qwik {value} <span class="lightning">⚡️</span>
        </h1>
        <Form value={value} setValue={setValue} />
        <br />
        <input type="button" value="Reload Page" onClick$={() => window.location.reload() } />
      </div>
    );
  });
We can now see what our simple app looks like in the browser, and we can interact with it. By entering a value in the input field and reloading the page, we can see that the value persists.
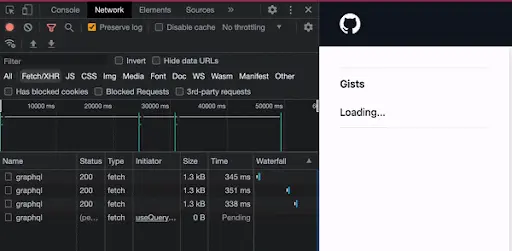
Next, we want to implement this hook in our Qwik GitHub showcase app to persist the gists data we fetch from the GitHub API and persisting it in the localStorage. We transform our fetch gists logic from this:
  useClientEffect$(async () => {
    const abortController = new AbortController();
    const response = await fetchGIst(abortController);
    updateGists(store, response);
  });
  useClientEffect$(async () => {
    if (cachedGists.value) {
      store.isLoading = false;
      store.data = cachedGists.value;
    } else {
      const abortController = new AbortController();
      const response = await fetchGIst(abortController);
      updateGists(store, response, setGists);
    }
  });
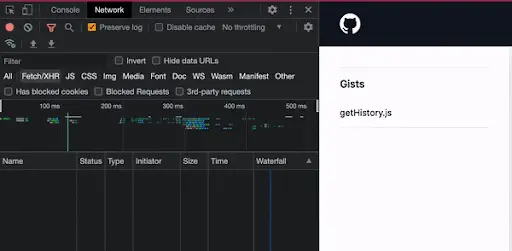
So we check if we have cached gists in the Storage. If we do, we set the store data to the cached gists. If not, we fetch the gists from the GitHub API and update the store data with the response. We also pass the setGists function to the updateGists function, which is the setValue$ function from the useLocalStorage hook. This function is used to set the value of the store, and also save it to the localStorage.
Conclusion
In this article, we were able to understand why we need to improve user experience with a focus on persisting data. We also saw how to create a hook in a Qwik framework, and use our hook to persist data in the localStorage.
A link to the project repo can be found here and for our Qwik starter.dev showcase app, here.
If you have any questions or run into any trouble, feel free to reach out on Twitter or on our Discord.