Oh What a New Vue!
The Vue team has announced that version 3 of the Vue framework will be released during Q1 2020.
The new framework is expected to bring a number of advancements, most of which target the framework core itself, while maintaining the standard syntax for building Vue apps to which we have become accustomed. Essentially,the codebase is rewritten, and the framework is changed.
With new features in JavaScript, the opportunity to rewrite was seized. Additionally, they incorporated developer feedback and ideas to the framework, and it shows. The result is a much more performant framework.
Developers will notice an improvement in the framework performance without having to dig into the source code to adjust it. Thank them later when you discover just how much heartache this saves you!
Below is a brief summary of the things that will change in Vue 3:
- Virtual DOM rewrite for better performance, and improved TypeScript support.
- Exposed Reactivity API.
- Time Slicing Support.
- Static Tree Hoisting.
- Optimized Slots Generations.
- Monomorphic Calls.
We will focus on the new Vue 3 Composition API. This API is fully optional, however, you can easily integrate it, and benefit from it in your app.
To stay in the loop on the Vue 3 roadmap, I highly recommend you keep checking this website Vue 3 – A roundup of infos about the new version of Vue.js
Vue Components / Ways to build them
The new Composition API is Vue’s approach to building Components in Vue 3. Using the Component Options API has been the traditional way of building components adopted in Vue 2.
A component has several options that a developer can use to implement a certain feature inside the component. With several options, a developer can use, and implement a certain feature inside the component.
Component Options API / Traditional method
For instance, your app has a feature to display a list of products and allow the user to execute Create Read Update Delete (CRUD) operations on them.
One of the possible ways to implement this feature in a Vue 2 component is to define the following script code:
<template>
  <div>Products</div>
</template>

<script>
export default {
  data() {
    return {
      products: [],
      product: null,
    };
  },
  methods: {
    createProduct() {
      // create product
    },
    updateProduct() {
      // update product
    },
    deleteProduct() {
      // delete product
    },
  },
};
</script>
The Component Options API refers to the artifacts that a Vue 2 component offers to help you implementing a certain feature in your app.
The data option is used to define an array of product items to display, and a single product object to track selected or new products.
The methods option is used to define any custom function or method you need to use in the component. There are other options too like computed, watch, etc.
This has been the traditional way of building components in Vue 2.
This approach works well for small or even medium apps. The problems emerge when the app grows to a few thousand components. Typically, your entire app won’t be built with a few components only. The best approach has been to compose your app out of smaller components. This has many benefits in terms of testing, readability, and code maintenance.
In other words, with more features implemented, the components become convoluted and difficult to track. Moreover, the Options API has limits on code reuse and sharing. Shared functionalities have to be repeated over and over again throughout your components.
The Component Options API itself introduces confusion to developers. Think of it this way; if you want to build a single feature, you have to scatter it among the different options (props, data, watch to name a few). As components are growing in size as well as function, the features are scattered across the options inside a component.
A hot mess!
Component Options API and Mixins
The Component Options API doesn’t promote code reuse or share. This adds to its complexity when using it.
One solution to mitigate around the complexity is to build components with the help of mixins.
We still have to deal with the fact that features' implementations are spread over several options. However, now with mixins, you can enhance your components by employing more code reuse and sharing common functionalities inside mixins.
Vue mixins allow you to refactor your common code inside a mixin file. Then, you can import this mixin to any component that needs to use this common code.
This is a step in the right direction, to solving the problem of code reuse in Vue 2 apps, but it’s not the end all and be all. Why?
A mixin follows the same standards of the Composition Options API. Let’s refactor the component shown before making use of mixins:
<template>
  <div>Products</div>
</template>

<script>
import ProductsMixin from "@/mixins/Products.mixin";

export default {
  mixins: [ProductsMixin],
};
</script>
Almost all of the code in the component has been stripped out.
A ProductsMixin is now imported into the component. To let the component know and use this mixin, you add the mixin into the mixins option array.
The ProductsMixin looks like this:
export default {
  data() {
    return {
      products: [],
      product: null
    };
  },
  methods: {
    createProduct() {
      // create product
    },
    updateProduct() {
      // update product
    },
    deleteProduct() {
      // delete product
    }
  }
};
The mixin exports a default ES6 object that uses the Component Options API to layout its code. Looking at a mixin file reminds me of a Vue component. The same structure and organization!
I’ve removed the data and methods options from inside the component, and placed them inside the mixin.
At runtime, the Vue framework will merge the component code, and the mixin code, to produce a single component with options coming from the two sources.
You can import this mixin to other components in your app where they need to offer Products CRUD operations.
Using a mixin comes at a cost:
- Naming conflicts.
- The complexity of the Component Options API is inherited.
- Complexity in tooling. With mixins, you always have to open the mixin file and check the names of methods or data properties before using them. The auto-merging happens behind the scenes at runtime. Therefore, there is no way to have intelligence inside the components for mixins fields.
Things to keep in mind when using Vue mixins:
- Life cycle hooks run first for mixins then for components.
- Options from both components and mixins will be merged at runtime.
- The components options will take priority when there are conflicting keys in these objects (methods, data, etc.)
Using the Composition API
The Composition API introduces a new approach to building components, and implementing features in them.
Let’s see how the aforementioned component with the mixin example can be converted to the Composition API approach.
First, let’s look at the Products component:
<template>
  <div>
    <div
      v-for="p in products"
      :key="p.id"
    >Product Name: {{ p.name }} - Product Price: ${{ p.price }}</div>
    <div>
      <button @click="createAProduct">Create New</button>
    </div>
  </div>
</template>

<script>
import { useProducts } from "@/cmp-functions/Products";

export default {
  name: "Products",
  setup() {
    return {
      ...useProducts()
    };
  },
  methods: {
    createAProduct() {
      this.createProduct({
        id: Math.floor(Math.random() * 10) + new Date().getTime(),
        name: "New Product",
        price: Math.floor(Math.random() * 1000).toString()
      });
    }
  }
};
</script>
The most remarkable section of the component is the setup() function. It is added by the new Vue 3 Composition API. Vue is aware of it, and will run it before even creating the component object itself. Hence, this explains why the object this, that refers to the component itself, is not available inside the function.
Inside this function, you define the data properties, computed methods, watch methods, normal methods and any other utility methods needed for your code. It should expose and return an object containing all the public methods and data properties. By public, we mean anything you want shared and used by the Vue component itself.
In our case, the function returns an object by spreading the useProducts() function. In the Vue 3 Composition API terminology, useProducts() is a Composition Function, and returns an object.
The setup() function returns an object containing all data properties and methods returned by useProducts() function.
The useProducts() function is defined inside the file /src/cmp-functions/Products.js as follows:
import { ref } from "@vue/composition-api";

export const useProducts = () => {
  const products = ref([]);

  const createProduct = ({ id, name, price }) => {
    products.value.push({ id, name, price });
  };

  const updateProduct = ({ id, name, price }) => {
    const itemIndex = products.value.findIndex(p => p.id === id);

    if (itemIndex < 0) {
      return;
    }

    products.value.splice(itemIndex, 1, { id, name, price });
  };

  const deleteProduct = id => {
    const itemIndex = products.value.findIndex(p => p.id === id);

    if (itemIndex < 0) {
      return;
    }

    products.value.splice(itemIndex, 1);
  };

  return {
    createProduct,
    updateProduct,
    deleteProduct,
    products
  };
};
Start by importing ref function from the @vue/composition-api package. It wraps any value or object, and makes it reactive so that if its value changes, Vue is aware of its presence, and it will update the UI accordingly.
The useProducts() function is a normal JavaScript function (arrow function in our case). It returns an object.
Inside the function, we define the products reactive data property with an initial value of an empty array.
Without the use of ref([]), Vue won’t be able to detect changes to the array, and the UI can’t be updated.
The rest of the functions createProduct(), updateProduct(), and deleteProduct() are just JavaScript functions to handle the CRUD operations on Products.
Notice the use of products.value when interacting with reactive data properties. This syntax is only required inside the composition function. When using the data properties inside a Vue component, whether for data set or get, you refer to the name of the data property without the need to use the .value syntax. This syntax is only used inside the composition function.
Finally, the useProducts() functions return an object with the list of data properties and methods to expose and are available to the Vue Component.
A composition function returns a whitelisted list of data properties and methods to the Vue component. It can define as much as it needs to form private data properties and methods, without exposing them to the Vue component. You expose whatever is needed to run the feature you are building.
You can move the code from inside the
useProducts()function to the body of thesetup()function inside the component. This is absolutely legit. However, from the code reuse perspective, it’s recommended to move out a single composition function into its own JavaScript file.
Now back to the Vue component, the setup() function returns the same list of data properties and methods returned by the composition function. The Vue component treats those properties and methods as if they were defined on the component itself. Inside the component template you can bind to the data properties and methods defined inside the setup() function.
One cannot help but notice the many advantages the Composition API brings on such as:
A composition function or setup() function doesn’t follow the Component Options API. Hence, a feature can be implemented as a single composition function, or even as one block inside the setup() function. There’s no need to spread a feature implementation anymore among the component options. You can put together data properties, private methods, public methods, computed properties, watch methods and others.
To any vanilla JavaScript developer, a composition function looks very familiar. Nothing is special about it. Just a usual JavaScript function. The tooling experience has been improved. Now you specify exactly what you are returning from any composition function. This is compared to the auto-magic that was happening at runtime when mixins options were merged with the component options.
Better and clear code reuse and sharing. Each and every feature is now implemented in its own composition function or JavaScript file.
Demo
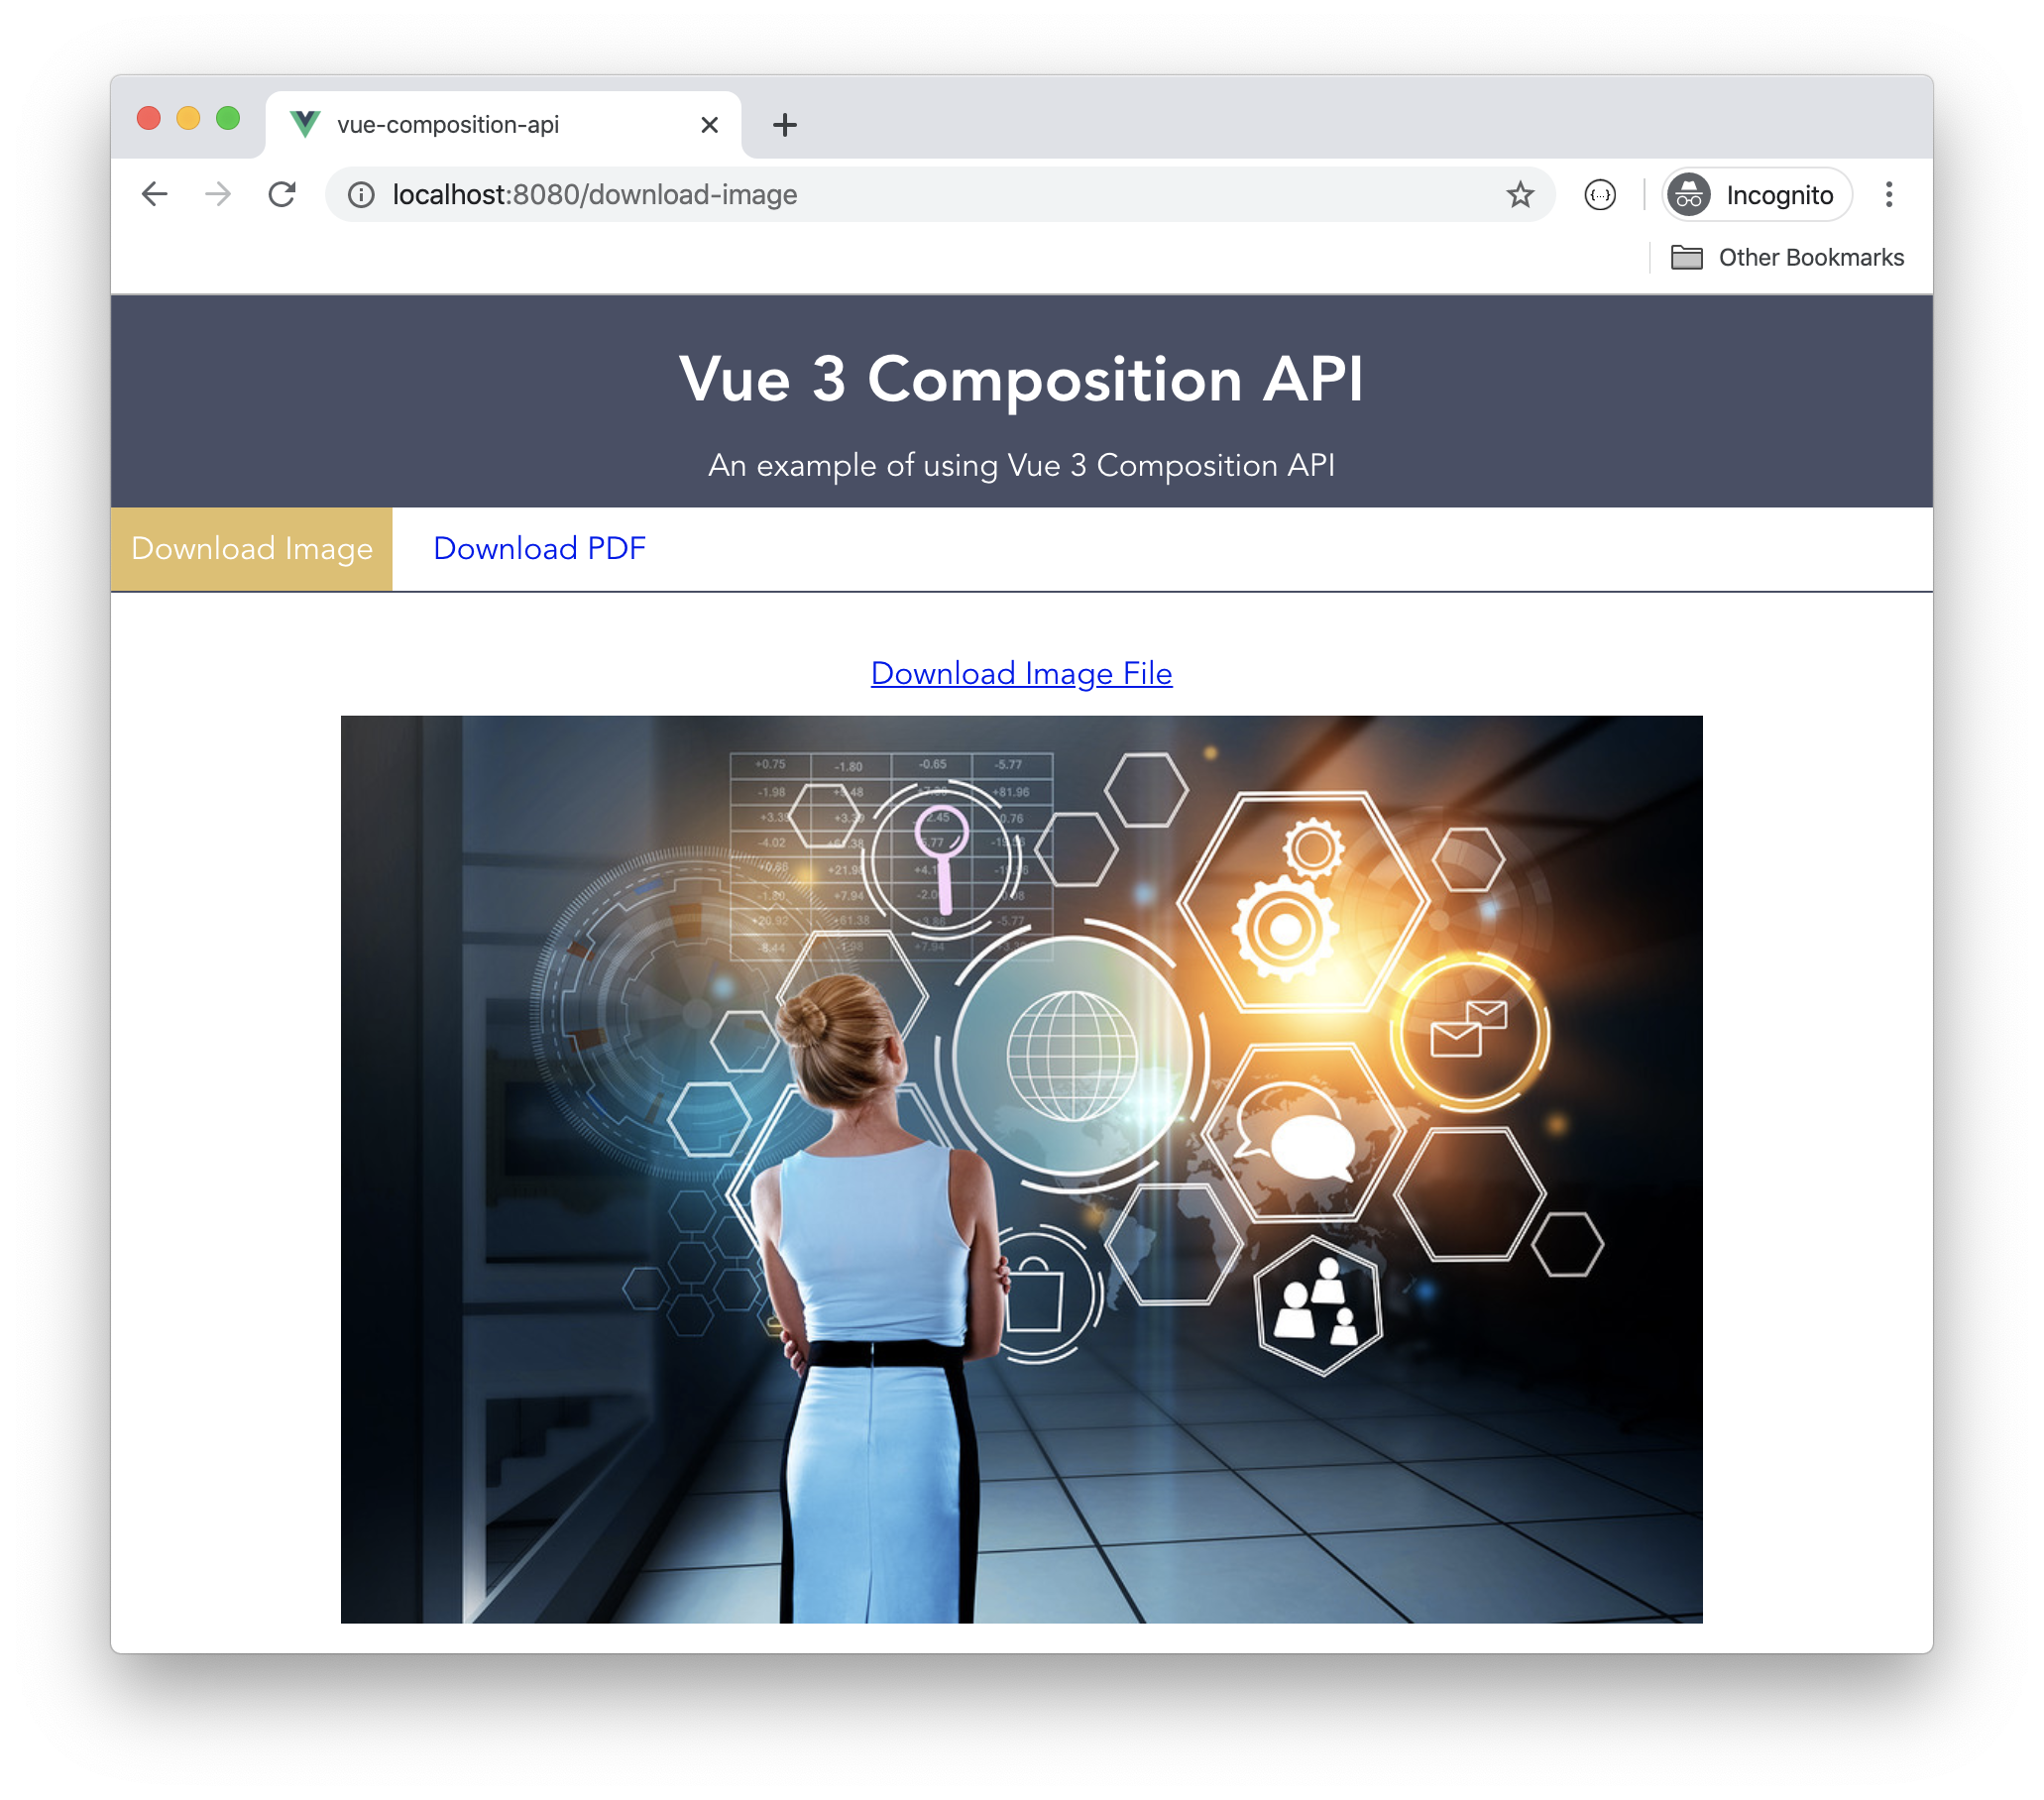
Now that you have the theory down on the new Vue Composition API, let's look at how to develop a basic Vue 2 app that contains two views:
The first is the Download Image view that allows the user to view and download an image file. The second is the Download Pdf view that allows the user to view and download a PDF file.
I will first build this app following the traditional Vue Component Options API method. Then, I will enhance this method to make use of Mixins for code reuse. Finally, I will convert this app to make use of the new Vue Composition API.
Start by cloning the app source code from the following GitHub repo git@github.com:bhaidar/vue3-composition-api.git.
Once done, switch to the dev* branch, and run the following commands in order to start the app.
npm i
npm run serve
The app navigation bar allows you to switch between the two available views.
Traditional Vue Components / Options API
the complete solution with duplicated components code can be found at feat/repeated-inside-components branch
To build the download file feature, I am going to implement this feature in both Views separately. The implementation will be similar in both components, hence, I will show you only one of the implementations.
Replace the content of the DownloadPdf.vue file with the following:
<template>
  <div class="download-pdf">
     <DownloadFileButton link="Download Pdf File" @download-file-btn="downloadPdf('dummy.pdf')" />
      <embed src="/assets/dummy.pdf" type="application/pdf">
  </div>
</template>

<script>
import axios from '@/http-common.js';
import DownloadFileButton from '@/components/DownloadFileButton.vue';

export default {
  data() {
    return {
      status: {
        showSpinner: false,
        showSuccess: false,
        showErrors: false,
      },
    };
  },
  components: {
    DownloadFileButton,
  },
  methods: {
    downloadPdf(fileName) {
      this.status = { ...this.status, showSpinner: true };

      axios.get(`/assets/${fileName}`, {
        responseType: 'arraybuffer',
        headers: {
          Accept: 'application/pdf',
        },
      }).then((response) => {
        this.status = { ...this.status, showSpinner: false, showSuccess: true };

        const arrayBufferView = new Uint8Array(response.data);
        const blob = new Blob([arrayBufferView], {
          type: 'application/pdf',
        });
        const urlCreator = window.URL || window.webkitURL;
        const fileUrl = urlCreator.createObjectURL(blob);
        const fileLink = document.createElement('a');
        fileLink.href = fileUrl;
        fileLink.setAttribute('download', `${this.randomNumber()}-${fileName}`);
        document.body.appendChild(fileLink);
        fileLink.click();
      }).catch(() => {
        this.status = { ...this.status, showSpinner: false, showErrors: true };
      });
    },
    randomNumber() {
      return Math.floor(Math.random() * 100);
    },
  },
};
</script>
The component defines some data options to track the download process, and display feedback accordingly.
The downloadPdf() method makes use of axios HTTP Client to request the PDF file from the server. Once the file content is available, it creates a Hyperlink element with a URL pointing to a blob Url of the file downloaded, and simulates a click event on the link so that the file is forced to download inside the browser.
In a real-life example, you would most probably have a backend API that will handle downloading files.
The same code is repeated inside the DownloadImage.vue view. The same code is repeated without any code reuse or sharing.
Let’s see how we can improve on this code by introducing mixins.
Using Mixins in Components
the complete solution with mixins can be found at feat/using-mixins branch
I will now refactor the repeated code inside the views into a single mixin file. Add a new mixin under the path /src/mixins/DownloadFile.mixin.js. Place the following content inside this new file:
import axios from '@/http-common.js';

export default {
  data() {
    return {
      status: {
        spinner: false,
        sucess: false,
        errors: null,
      },
    };
  },
  computed: {
    showSpinner() {
      return this.status.spinner;
    },
    showSuccess() {
      return this.status.success;
    },
    showErrors() {
      return this.status.errors;
    },
  },
  methods: {
    async downloadFile(fileName, contentType) {
      this.status = { ...this.status, spinner: true };

      axios.get(`/assets/${fileName}`, {
        responseType: 'arraybuffer',
        headers: {
          Accept: contentType,
        },
      }).then(value => new Promise(resolve => setTimeout(resolve, 2000, value)))
        .then((response) => {
          const blobResults = this.getBlobResults(response.data, contentType);
          const blobFileUrl = this.createBlobFileUrl(blobResults);
          const fileLink = this.generateFileLink(fileName, blobFileUrl);

          this.status = { ...this.status, spinner: false, success: true };

          // Download file
          fileLink.click();
        }).catch((err) => {
          this.status = { ...this.status, spinner: false, errors: err };
        });
    },
    createBlobFileUrl(blob) {
      const urlCreator = window.URL || window.webkitURL;
      return urlCreator.createObjectURL(blob);
    },
    generateFileLink(fileName, blobUrl) {
      const fileLink = document.createElement('a');

      fileLink.href = blobUrl;
      fileLink.setAttribute('download', `${this.randomNumber()}-${fileName}`);

      document.body.appendChild(fileLink);

      return fileLink;
    },
    getBlobResults(fileContent, contentType) {
      const arrayBufferView = new Uint8Array(fileContent);
      return new Blob([arrayBufferView], {
        type: contentType,
      });
    },
    randomNumber() {
      return Math.floor(Math.random() * 100);
    },
    wait(ms, value) {
      return new Promise(resolve => setTimeout(resolve, ms, value));
    },
  },
};
The code is now more modularized, and split into smaller and readable functions. The same data properties have been defined inside this mixin. In addition, a new generic method, the downloadFile() is defined to cater for any file download.
Switch back to the DownloadPDF.vue view, and update the component by pasting:
<template>
  <div class="download-pdf">
     <DownloadFileButton link="Download Pdf File" @download-file-btn="downloadPdf('dummy.pdf')" />

     <div class="download-image__results">
        <span v-if="showSpinner" class="spinner">Downloading ...</span>
        <span v-if="showSuccess" class="success">File downloaded successfully!</span>
        <span v-if="showErrors" class="failure">File failed to download!</span>
      </div>

      <embed src="/assets/dummy.pdf" type="application/pdf">
  </div>
</template>

<script>
import DownloadFileMixin from '@/mixins/DownloadFile.mixin';
import DownloadFileButton from '@/components/DownloadFileButton.vue';

export default {
  mixins: [DownloadFileMixin],
  components: {
    DownloadFileButton,
  },
  methods: {
    downloadPdf(fileName) {
      this.downloadFile(fileName, 'application/pdf');
    },
  },
};
</script>
The component is now more concise. It imports the DownloadFile.mixin.js file, and injects it into the mixins option of the Vue component.
A message is now shown to signal the starting, success and failure stages of the file download.
The mixin exposes a single method, the downloadFile(). The component calls this method to download the PDF file.
Finally, let’s improve on the code and introduce the Vue Composition API.
Using Composition API
the complete solution with mixins can be found at feat/composition-api branch
To start using the Vue 3 Composition API you don’t have to wait until Vue 3 is released. The Vue team made available the Composition API for any Vue 2 app.
Add the Composition API to your app by installing the following NPM package:
npm install --save @vue/composition-api
Once the library is installed, go to the main.js file inside your app folder, and add the code to tell Vue to use this library or plugin.
import Vue from 'vue';
import VueCompositionApi from '@vue/composition-api';
import App from './App.vue';
import router from './router';

Vue.config.productionTip = false;

Vue.use(VueCompositionApi);

new Vue({
  router,
  render: h => h(App),
}).$mount('#app');
That’s all! Now you can start using the Composition API in your app.
Let’s add a new composition function under the path /src/cmp-functions/download-file.js. Replace its content with the following:
/* eslint-disable import/prefer-default-export */
import { ref, computed } from '@vue/composition-api';
import axios from '@/http-common.js';

export const useDownloadFile = () => {
  const status = ref({
    spinner: false,
    success: false,
    errors: null,
  });

  const randomNumber = () => Math.floor(Math.random() * 100);

  const showSpinner = computed(() => status.spinner);

  const showSuccess = computed(() => status.success);

  const showErrors = computed(() => status.errors);

  const createBlobFileUrl = (blob) => {
    const urlCreator = window.URL || window.webkitURL;
    return urlCreator.createObjectURL(blob);
  };

  const generateFileLink = (fileName, blobUrl) => {
    const fileLink = document.createElement('a');

    fileLink.href = blobUrl;
    fileLink.setAttribute('download', `${randomNumber()}-${fileName}`);

    document.body.appendChild(fileLink);

    return fileLink;
  };

  const getBlobResults = (fileContent, contentType) => {
    const arrayBufferView = new Uint8Array(fileContent);
    return new Blob([arrayBufferView], {
      type: contentType,
    });
  };

  const downloadFile = async (fileName, contentType) => {
    status.value = { spinner: true, success: false, errors: null };

    axios.get(`/assets/${fileName}`, {
      responseType: 'arraybuffer',
      headers: {
        Accept: contentType,
      },
    }).then(value => new Promise(resolve => setTimeout(resolve, 2000, value)))
      .then((response) => {
        const blobResults = getBlobResults(response.data, contentType);
        const blobFileUrl = createBlobFileUrl(blobResults);
        const fileLink = generateFileLink(fileName, blobFileUrl);

        status.value = { spinner: false, success: true, errors: null };

        // Download file
        fileLink.click();
      }).catch((err) => {
        status.value = { spinner: false, success: false, errors: err};
      });
  };

  return {
    showSpinner, showSuccess, showErrors, downloadFile,
  };
};
The code should be familiar to you by now. The only new thing you see is the definition of some computed properties.
You define a new computed property inside the Composition API by using the computed() function. This function accepts a callback function that should return a value. This is the value of the computed property. It, as you know from Vue 2, it will track any change to the underlying data properties, and will run accordingly.
The useDownloadFile() composition function makes use of several private functions. It only exposes what’s needed by the Vue component and not by exposing all the implementation.
That’s it for the composition function.
Let’s go back to the DownloadPdf.vue view to import this function and make use of it. Replace the content of the view with the following:
<template>
  <div class="download-pdf">
     <DownloadFileButton link="Download Pdf File"
      @download-file-btn="downloadFile('dummy.pdf', 'application/pdf')" />

     <div class="download-image__results">
        <span v-if="showSpinner" class="spinner">Downloading ...</span>
        <span v-if="showSuccess" class="success">File downloaded successfully!</span>
        <span v-if="showErrors" class="failure">File failed to download!</span>
      </div>

      <embed src="/assets/dummy.pdf" type="application/pdf">
  </div>
</template>

<script>
import { useDownloadFile } from '@/cmp-functions/download-file';
import DownloadFileButton from '@/components/DownloadFileButton.vue';

export default {
  components: {
    DownloadFileButton,
  },
  setup() {
    const {
      showSpinner, showSuccess, showErrors, downloadFile,
    } = useDownloadFile();

    return {
      showSpinner, showSuccess, showErrors, downloadFile,
    };
  },
};
</script>
The component imports the useDownloadFile() composition function. It extracts the computed properties and the downloadFile() method from the composition function and returns them from inside the setup() function.
To download a file, the component calls on the downloadFile(‘dummy.pdf’, ‘application/pdf’) method, passing over the name of the PDF file to download and the file’s content type. To show download progress, the component binds the UI to the computed properties, defined by the composition function.
Conclusion
The Vue 3 Composition API is optional!
I am pretty sure you can see the value and benefit when using the new Vue 3 Composition API. The most remarkable enhancement, in my opinion, is building a single feature in a single composition function without the need to spread the implementation among the Vue options (Options API).
In addition, the new tooling experience and intellisense make it easier to see what you are importing from the composition function, and also what you are exposing to your Vue component. This brings an incredible experience while coding.
Whether you start using the new Composition API in your apps will depend on what you want to achieve.
I definitely recommend using the new API in much larger apps with many components where code reuse and sharing is necessary!
Similarly, if you are fed up with the Component Options API and the notion of building a feature by spreading it over the different available options, it’s time to start using this new API!
Happy vueing!