Developer Insights
Join millions of viewers! Our engineers craft human-written articles solving real-world problems weekly. Enjoy fresh technical content and numerous interviews featuring modern web advancements with industry leaders and open-source authors.
How to build an AI assistant with OpenAI, Vercel AI SDK, and Ollama with Next.js
Learn how to run Llama 3.1 locally in a Next.js app, send audio to it, and play responses back to users....
Sep 27, 2024
8 mins
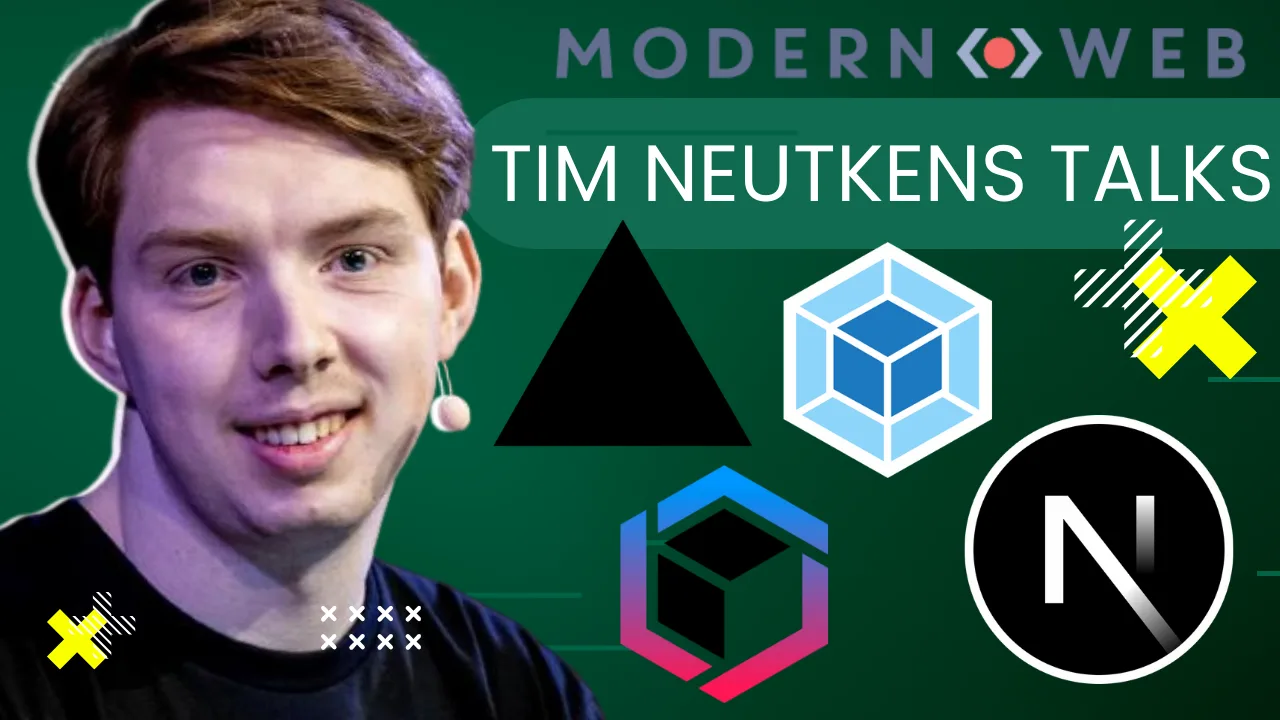
Tim Neutkens, Co-Author of Next.js on the State of Next
Watch this episode! Tim Neutkens, Co-author and Tech Lead for Next.js, discusses how open source maintainers are simplifying the web, and covers the challenges faced with the current Next.js setup. Tim talks about TurboPack, a solution that optimizes bundling, improves parallelism, caching, and module graph calculations. He also talks about TurboAC, which focuses on addressing performance and compatibility issues, providing seamless transitions for Next.js users. Tim highlights the importance of efficient bundling processes to avoid excessive recompilation and discusses the updates in Next.js versions to enhance caching, rendering behavior, and client-side caching. Tim also discusses some exciting upcoming features in Next.js 15. Tim Neutkens' Socials - Twitter: @timneutkens - GitHub: timneutkens - Bluesky: timneutkens.bsky.social - Website: https://timn.tech/ Links - Vercel on Twitter, LinkedIn, Facebook, Instagram, YouTube, GitHub and Vercel's website - Next.js on Twitter, GitHub, LinkedIn, YouTube, Instagram, Facebook, official Next.js website - Turbopack on Twitter, GitHub, YouTube, LinkedIn, Instagram, Official Turbopack Docs - Webpack on GitHub, Twitter, YouTube, and Official Webpack Website Show Notes - [00:00:02] Podcast episode featuring Tim Neutkens discussing Next.js and the upcoming release of TurboPack. - [00:04:27] JavaScript bundlers evolving to handle growth. - [00:07:58] TurboPack solves Webpack limitations efficiently. - [00:12:12] Bundler compatibility for optimal app performance. - [00:16:50] Client components separated in webpack instance. Turbo pack for better parallelism and stability. Industry moving towards server-side. Feed and rollup still relevant. Collaboration between tools for future. - [00:20:57] Replacing part with roll down, similar to Webpack. Overlapping ecosystem with Avonetic Conference. Limits with unbundling and loading on demand. Cycle of building frameworks and hitting limits. History of using Webpack for client-side code. Two compiler architecture for server and client. Coordination between server and client with Webpack. - [00:25:38] Server action imports, turbo pack improves performance. - [00:30:04] Next.js is popular for websites. - [00:34:18] Chipotle using Next in Vercel, exciting improvements. - [00:38:51] Next.js 15 release candidate with changes. This episode is sponsored by Wix Studio....
Aug 7, 2024
2 mins
Integrating Next.js with New Relic
Check out our detailed guide on integrating New Relic’s application monitoring with Next.js....
Jul 19, 2024
7 mins
Communication Between Client Components in Next.js
Describing different strategies for communication between client components in Next.js....
Jun 21, 2024
5 mins
Maximizing Server Rendering for Interactive Next.js Applications
Maximize server rendering while maintaining interactivity by strategically combining React Server Components (RSCs) and client components in a Next.js application....
May 15, 2024
5 mins
Improving INP in React and Next.js
A follow-up article on the new Core Web Vital INP outlining some techniques to improve your INP score in Next.js and React....
Apr 19, 2024
5 mins
Maximizing Routing Flexibility with Next.js Parallel and Intercepting Routes
Dive deep into Next.js Parallel Routes and Intercepting Routes! Unleash the potential of these features for optimized performance and seamless user experiences....
Apr 5, 2024
3 mins
Deploying Next.js Applications to Fly.io
Fly.io has gained significant popularity in the developer community recently, particularly after being endorsed by Kent C. Dodds for hosting his Epic Web project. It's a go-to choice for hobby projects, thanks to its starting plans that are effectively free, making it highly accessible for individual developers. While Next.js applications are often deployed to Vercel, Fly.io has emerged as a perfectly viable alternative, offering robust hosting solutions and global deployment capabilities. In this blog post, we'll give an overview of how to install a Next.js app to Fly.io, mentioning any gotchas you should be aware of along the way. The Project Our project is a simple Next.js project using the latest version of Next.js at the time of the writing (14). It uses the app directory and integrates with Spotify to get a list of episodes for our podcast, Modern Web. The bulk of the logic is in the page.tsx file, shown below, which represents the front page that is server-rendered after retrieving a list of episodes from Spotify. ` The getEpisodes is a custom function that is a wrapper around the Spotify API. It uses the Spotify client ID and secret (provided through the SPOTIFY_CLIENT_ID and SPOTIFY_CLIENT_SECRET environment variables, respectively) to get an access token from Spotify and invoke a REST endpoint to get a list of episodes for the given show ID. As can be seen from the above code, the Home is an async, server-rendered component. Scaffolding of Fly.io Configuration To get started with Fly.io and deploy a new project using flyctl, you need to go through a few simple steps: installing the flyctl CLI, logging into Fly.io, and using the flyctl launch command. Installing the CLI Installing flyctl is different depending on the operating system you use: - If you're on Windows, the easiest way to install flyctl is by using scoop, a command-line installer. First, install scoop if you haven’t already, then run scoop install flyctl in your command prompt or PowerShell. - For macOS users, you can use Homebrew, a popular package manager. Simply open your terminal and run brew install superfly/tap/flyctl. - Linux users can install flyctl by running the following script in the terminal: curl -L https://fly.io/install.sh | sh. This will download and install the latest version. Logging In After installing flyctl, the next step is to log in to your Fly.io account. Open your terminal or command prompt and enter flyctl auth login. This command will open a web browser prompting you to log in to Fly.io. If you don’t have an account, you can create one at this step. Once you're logged in through the browser, the CLI will automatically be authenticated. Scaffolding the Fly.io Configuration The next step is to use fly launch to add all the necessary files for deployment, such as a Dockerfile and a fly.toml file, which is the main Fly.io configuration file. This command initiates a few actions: - It detects your application type and proposes a configuration. - It sets up your application on Fly.io, including provisioning a new app name if you don’t specify one. - It allows you to select a region to deploy to. There are really many to choose from, so you can get really picky here. Once the process completes, flyctl will be ready for deploying the application. In our case, the process went like this: ` Deploying Now, if this was a simpler Next.js app without any environment variables, running flyctl deploy would build the Docker image in a specialized "builder" app container on Fly.io and deploy that image to the app container running the app. However, in our case, executing flyctl deploy will fail: ` This is because our page is statically rendered, and the Next.js build process attempts to run Home, our server-rendered component to cache its output. Before we can do this, we need to add our environment variables so that Fly.io is aware of them, but this is somewhat a tricky subject, so let's explain why in the following chapter. Handling of Secrets Most complex web apps will need some secrets injected into the app via environment variables. Environment variables are a good way to inject sensitive information, such as API secret keys, to your web app without storing them in the repository, the file system, or any other unprotected place. Unlike other providers such as the previously mentioned Vercel, Fly.io distinguishes built-time and run-time secrets, which are then injected as environment variables. Build-time secrets are those secrets that your app requires to build itself, while run-time secrets are needed while the app is running. In our case, due to the fact that Next.js will attempt to cache our static pages upfront, the Spotify client ID and client secret are needed during both build-time and run-time (after the cache expires). Build-Time Secrets Our Next.js app is built while building the Docker image, therefore build-time secrets should be passed to the Docker context. The recommended, Docker-way of doing this, is through Docker's build-time secrets, which are added through a special --mount=type=secret flag to the RUN command that builds the site. This is a relatively newer feature that allows you to securely pass secrets needed during the build process without including them in the final image or even as an intermediate layer. This means that, instead of having the following build command in our Dockerfile: ` we will have: ` Now, you can either modify the Dockerfile manually and add this, or you can use a helpful little utility called dockerfile: ` If we were using docker build to build our image, we would pass the secret values like so: ` However, in our case we use fly deploy, which is just a wrapper around docker build. To pass the secrets, we would use the following command: ` And now, the app builds and deploys successfully in a few minutes. To summarize, if you have any secrets which are necessary at build-time, they will need to be provided to the fly deploy command. This means that if you have a CI/CD pipeline, you will need to make sure that these secrets are available to your CI/CD platform. In the case of GitHub actions, they would need to be stored in your repository's secrets. Run-Time Secrets Run-time secrets are handled in a different way - you need to provide them to Fly.io via the fly secrets set command: ` Now, you might be wondering why fly deploy cannot use these secrets if they are already stored in Fly.io. The architecture of Fly.io is set up in such a way that reading these secrets through the API, once they are set, is not possible. Secrets are stored in an encrypted vault. When you set a secret using fly secrets set, it sends the secret value through the Fly.io API, which writes it to the vault for your specific Fly.io app. The API servers can only encrypt; they cannot decrypt secret values. Therefore, the fly deploy process, which is, if you remember, just a wrapper around docker build, cannot access the decrypted secret values. Other Things to Consider Beware of .env Files In Next.js, you can use .env as well as .env.local for storing environment variable values for local development. However, keep in mind that only .env.local files are ignored by the Docker build process via the .dockerignore file generated by Fly.io. This means that if you happen to be using an .env file, this file could be bundled into your Docker image, which is potentially a security risk if it contains sensitive information. To prevent this from happening, be sure to add .env to your .dockerignore file as well. Not Enough Memory? For larger Next.js sites, you might run into situations where the memory of your instance is simply not enough to run the app, especially if you are on the hobby plan. If that happens, you have two options. The first one does not incur any additional costs, and it involves increasing the swap size. This is not ideal, as more disk operation is involved, making the entire process slower, but it is good enough if you don't have any other options. To set swap size to something like 512 MB, you need to add the following line to the fly.toml file near the top: ` The second one is increasing memory size of your instance. This does incur additional cost, however. If you decide to use this option, the command to use is: ` For example, to increase RAM memory to 1024 MB, you would use the command: ` After making the changes, you can try redeploying and seeing if the process is still crashing due to lack of memory. Conclusion In conclusion, deploying Next.js applications to Fly.io offers a flexible and robust solution for developers looking for alternatives to more commonly used platforms like Vercel. We hope this blog post has provided you with some useful insights on the things to consider when doing so. Be sure to also check out our Next starter templates on starter.dev if you'd like to integrate a few other frameworks into your Next.js project. The entire source code for this project is available on Stackblitz....
Feb 21, 2024
7 mins
Exploring the Hidden Gems of the Next Image Component: What You Might Be Overlooking
A blog post that explores hidden features that are easy to overlook...
Feb 9, 2024
5 mins
Next.js Route Groups
Learn how to organize and optimize your application routing with ease. Say goodbye to messy routes and hello to a more intuitive and maintainable structure with the new Next.js Group Routes!...
Feb 7, 2024
6 mins
Demystifying React Server Components
React Server Components (RSCs) are the latest addition to the React ecosystem, and they've caused a bit of a disruption to how we think about React....
Feb 2, 2024
9 mins
Build Beautiful Storefronts Quickly with Shopify and Next
Introduction Shopify is one of the world’s best e-commerce platforms for building online stores of any size. It’s a hosted platform, which means you don’t have to worry about the technical details of managing a server or dealing with software updates. You can focus on building your business instead. Next.js is a React framework for building static and server-side rendered applications. It’s a great choice for building e-commerce storefronts and enables you to do more customization, and it’s what we’ll be using in this article. Shopify Next.js Starter Kit Recently, we’ve created a starter kit that you can use to build your own Shopify storefront with Next.js. It’s a great way to get started quickly especially since it is powered by the new App Router and React Server Components, and it’s completely free. You can find it on GitHub here: Shopify Next.js Starter Kit We also have a live demo of the starter kit here: Shopify Next.js Starter Kit Demo Getting Started To get started, open your terminal and run the following command: And choose Shopify, NextJS 13.4 and Tailwind CSS Then, choose the project name And everything ready to go, next steps are to go to the directory and install the packages Setup Shopify Account Next, you’ll need to create a Shopify store. There are two ways to get a Shopify account: 1- You can do this by going to Shopify and clicking on the “Start free trial” button and create a Shopify account. 2- Or you can create a Shopify Partner Account for development purposes Once you’ve created your store, you’ll need to create a private app. You can do this by going to the “Apps” section of your Shopify admin and clicking on the “Manage private apps” link. Then click on the “Create a new private app” button. Give your app a name, and then click on the “Save” button. You’ll then be taken to a page where you can see your API credentials. You’ll need to copy these credentials into your .env.local file. You can find the .env.local file at the root of your project. It should look something like this: Modify the design After adding the required secrets, run npm run dev to run the development server locally The project structure is simple and easy. Since we are using the App Router, all of the routes are under /app folder and the shared components are under /components folder. This structure make it easy for you to edit and modify easily on the design Also all of the components have been written in a clean way with Tailwind CSS to make it easy for you to edit it. Deploy Since it’s a Next.js project, its deployment is easier than ever, most of the modern host providers support deploying it with just one click like * Vercel * Netlify * Cloudflare Page * AWS Amplify * Render * Fly.io Just push the project to a remote git repository using GitHub and connect it to the hosting provider of your choice. Conclusion In this article, we’ve shown you how to build a Shopify storefront with Next.js with our new starter kit from Starter.dev. We’ve also shown you how to use the new App Router and React Server Components to build a fast and performant storefront. We hope you’ve enjoyed this article and found it useful. If you have any questions or comments, please feel free to reach out to us on Twitter or GitHub. We’d love to hear from you!...
Nov 1, 2023
4 mins
Let's innovate together!
We're ready to be your trusted technical partners in your digital innovation journey.
Whether it's modernization or custom software solutions, our team of experts can guide you through best practices and how to build scalable, performant software that lasts.